skate323k137
Enlightened
Very nice!
For the record, LED was indeed much more friendly to the cabinet power supply")
For the record, LED was indeed much more friendly to the cabinet power supply
Thanks. I've got a Lindy PSU which I might use that has 10A/25A peak on the 12v but I think I might go down the LED route anyway. I'll do some trials and see how they both look.Very nice!
For the record, LED was indeed much more friendly to the cabinet power supply
Nudge nudge, wink winkTime to finally get some Bishi Bashi panels made for the Vewilx")
Nudge nudge, wink wink

That's decided it then, thanks again!Go LED. Trust me. I may have a video on my phone for comparison if you really want it but I did the comparison and hands down LED won.
Even with plenty of 12v to the normal bulbs they have a yellower or dimmer glow to them. That though isn't the worst problem... What I found was normal bulbs suck for quick flashes. They need that split second of warm up. The 12v white LEDs were in fact so bright I moved them to my 5v rail, and they're still both brighter and "instant on / instant off" than the 12v bulbs.
Just in case anyone is looking and needs it in the future, here's the full pinout directly from the Type 3 IO.llumination wiring was (mostly) straightforward. I never did find a thread with it documented so I just traced it out. Thanks for reaffirming I should just run 12v to all the bulbs and then use the "outputs" for the ground connections. It makes a lot of sense actually.
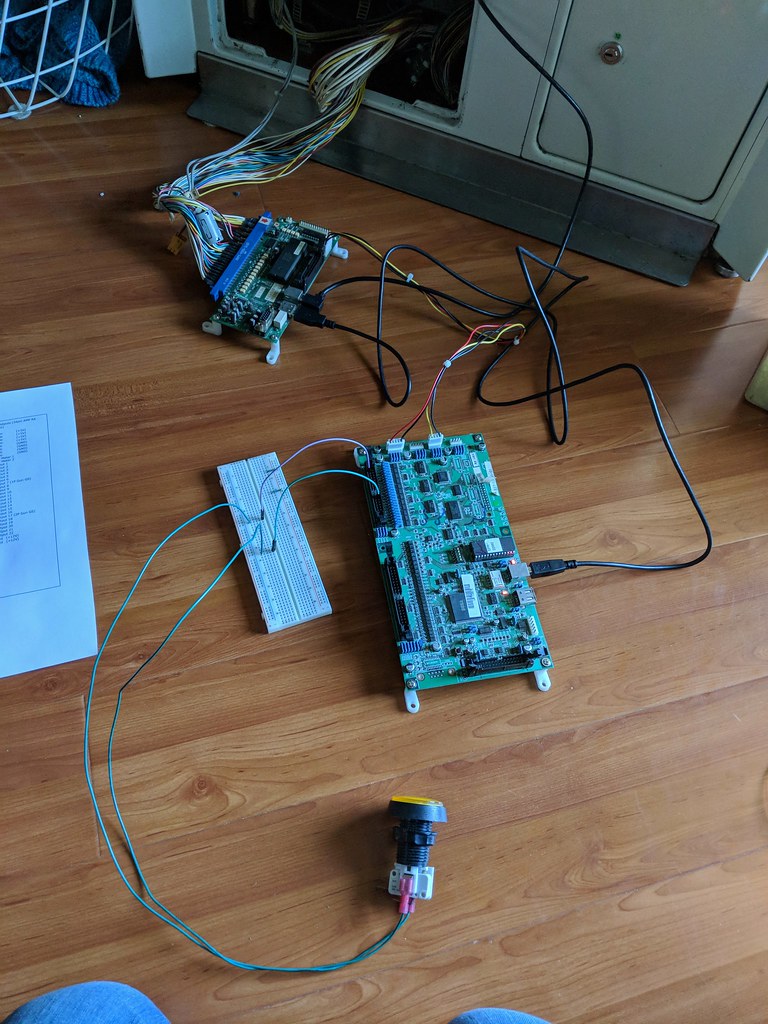
First I made myself a cable to hook to the cab. One end was DB15 (to hook to the panel) with outputs 1-14 on pins 1-14 and 12v on pin 15. The other end was split to an 8 pin AMP and 20pin (AMP RA?) connector for the type 3 IO.
The net city had a female 8 pin AMP connector from the old type1. Its pinout was basically 12v on pin1, and 6 outputs on pins 2-7 (in what order, I have no idea). So basically, I wired pins 1-6 of the dsub to the amp up for that connector, as well as the 12v which I threw on pin 15. Then output pins 7-14 went to the 20 pin connector for the type 3 IO's additional outputs.
Output number wise they traced out like this (*)
1 - 1P START
2 - 1P DOWN
3 - 2P START (WTF)
4 - 1P LEFT
5 - 1P UP
6 - 1P RIGHT
-
7 - 1P A
8 - 1P B
9 - 2P UP
10 - 2P DOWN
11 - 2P LEFT
12 - 2P RIGHT
13 - 2P A
14 - 2P B
(*)I'm guessing the net city output connector for 1-6 isn't in numerical order, given outputs 7-14 are in the same order as the test menu. I just turned on one light at a time in test mode to map those out real quick.
Thankfully, it was TOTALLY WORTH IT. The lights don't do anything in attract mode, aside from light up if you push a button. But in game mode, they illuminate based on the game you're playing to show you what buttons are "legal" to press. Super helpful on new games or remix mode.
 ' last night that it lights up the controls used, that's definitely really handy. However, I'm more interested of when the CCFL and SPEAKER RGB LEDs are used to see if I can put them to good use. gonna need some leds as well. Can you guys post links to parts for my shopping needs ?
 Oh, that would be amazing, thanks so much!Ah ok. I just bought a type 3 io. I'm gonna do this as well... On a blast city
Skates if you could provide measurements for your button placements I'll design an overlay that matches it , have YT print a couple and send you one.
Franco, I can rearrange the art based on your cad files and send you a print ready file if you want. I can't have YT print it. Panel outlines are die cut, and I don't think you want to pay for a Sega mini panel die lol.
The design's not 100% finalised as yet, I'll probably get all the buttons mounted and then do a drawing to reflect the final positions. If it's ok I'll send it your way once complete? Thanks again!
yup !any chance i can get a panel cut+artwork as well? I'd love to have one of these.