markedkiller78
Student
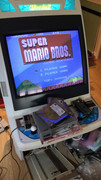
Nice work!Alright, I can finally write about my whole experience.
After this guy Grant from the UK would not share the identity of the replacement flyback for the Toshiba chassis, I had to dig some more and come to the conclusion that this chassis shares the same flyback with the Nanao MS2931 tri-sync monitor.
Clues were :
- People have been buying the MS2931 as a replacement drop-in chassis because it is the exact same tube.
- Looking at pictures of the MS2931 and the Toshiba PB7534, the flybacks look absolutely identical.
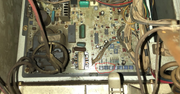
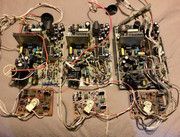
- Finally, one of the 3 chassis I have on hand for repair has a flyback with the markings MSU1FUS11 on it, the others having reference from a Toshiba parts catalogue I'd have to guess.
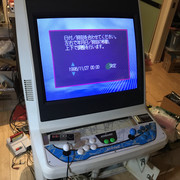
CONCLUSION : Same exact flyback. Works great, 15kHz, 31kHz.
You can get the flyback from taobao through a proxy, or from donberg electronics in Ireland :
https://www.donberg.ie/descript/m/msuifus11.htm
https://item.taobao.com/item.htm?id=594979186324&spm=1101.1101.N.N.d8721ff
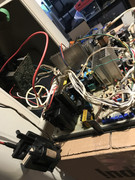
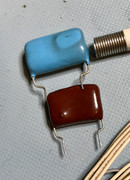
What had to be done also, a complete recap for one, I had some blown film capacitors too, and a few parts from our friends over at utsource :
HOT 2SC4288 : https://www.utsource.net/itm/p/1238239.html
Damper diode FMQ-3GU : https://www.utsource.net/itm/p/1710145.html
Bipolar diode D716 : https://www.utsource.net/itm/p/4370189.html
Vertical deflector LA7837 : https://www.utsource.net/itm/p/1016522.html
I just swapped a few parts and not an engineer / expert technician.... and they work great now.
Do you have any Width / Horizontal issues? The picture on mine is about 1” too wide on the narrowest settings on the chassis and remote board. Neo geo is particularly bad, it’s constantly over-scanned


") .
.
