What's new
Acktually…🤓

I leave my CP’s unlocked on both my Aeros and Astro City’s, so it’s just 1 step to lift open. The monitor surround and CP tops have enough of a snug fit that the friction keeps them down when playing. The CP top is also hinged, so you just swing it open and do your business.
Service door takes 3 steps. Unlock, open, then place to the side.
 
Yeah I don't even have CP locks (or tangs) on any of my cabs. Not exactly by choice but it is what it is. CP lock holes are great for passthroughs and mounting stuff though
 
I leave my CP’s unlocked on both my Aeros and Astro City’s, so it’s just 1 step to lift open
I don't know your play style but that would NEVER work for me.
I ABUSE sticks and buttons until they break!

Raiden's teleport in MK for example, if you are pressing down then up you are doing it WRONG.
You violently slap the stick downwards and the action of the spring snaps it back upwards completing the move (you never actually press UP).

If the CP is unlocked my violent downward slap would open your panel (hell it moves my entire machine if I don't have the leg levelers down).
I replace stick PCBs about every 6 months (twice a year) and buttons sometimes monthly (for high use buttons like JAMMA 1 & 2).
 
Good thing there's a whole world of non-kusoge that don't require or assume violent slapping of Happ parts as part of the design
 
daigo-fgc.gif
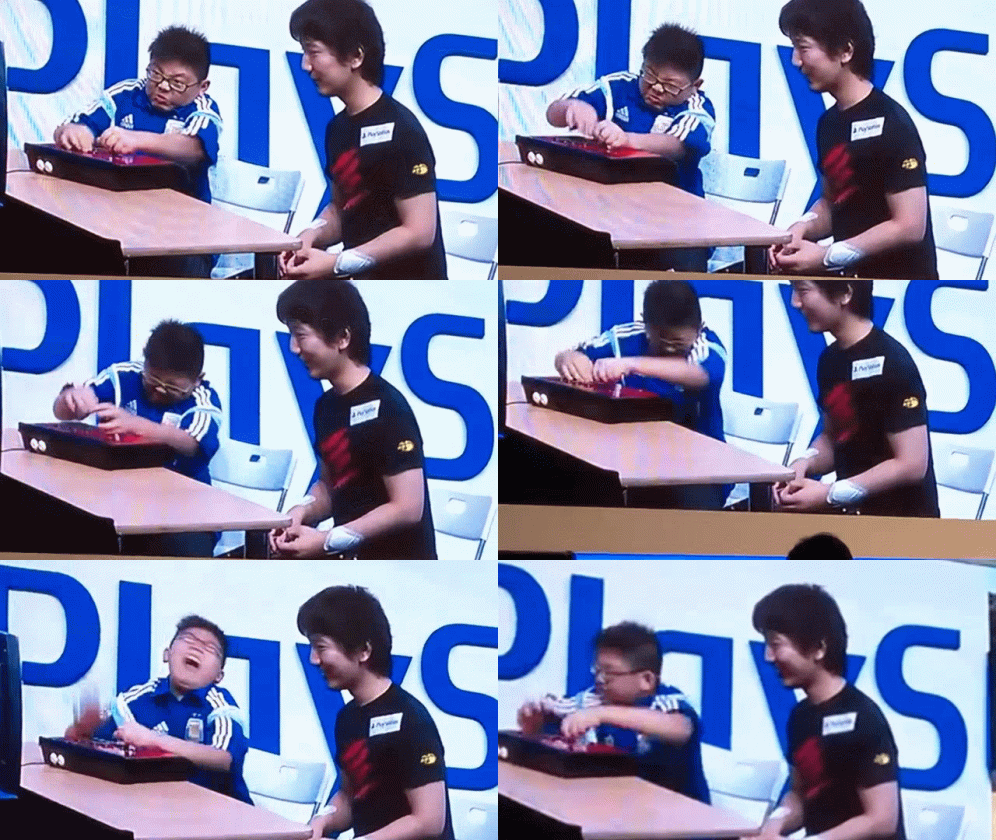
I found some footage of @jassin000 playing against Daigo. I totally get it now.
 
  • Like
Reactions: dos
Say what you will but its FUN to beat the shit out of controls.
SNK/Midway/Konami knew what's up. :)
-sharp-x68000-screenshot-arm-wrestling-bonus-round.png

668269-the-simpsons-arcade-screenshot-bonus-stage.png

maxresdefault.jpg
 
Those are rapid button presses examples. Not pressure/power presses. The only video game controls that smashing is acceptable is:
image-asset.png


…and even then it was a horrible design choice.
 
I think I lost track on my thread. Back on topic.

If you want to really remote mount your screen: Ill have this blanking plate available as a 3D printed part (both files and I can print some).

1655810120025.png


If you really want to use the filterboard mounted DIP SWITCHES or move them somewhere else entirely, this can be used inside the case to blank out the holes nicely. Same as above, ill have some 3D printed ones and offer the files up for those who have their own 3D printer.

1655810199441.png


Finally, here's an updated Case Design. I think this actually meets what most people who have my existing cases already want.

1655810295178.png


I am considering an alternate option, if sufficient demand exists for this and the other version, that moves the screen and dip board to the top of the case where the CAPCOM is. Keep in mind, it can't go to the other side due to the "C" board on top of the multi-kit. This would put most everything in one side of the case essentially. The screen would be situated so that you can read it like you read the CAPCOM logo when holding the case, DIPS would be oriented the same way. A on the left, C on the right.

This is all in my discord as well!
 
The screen would be situated so that you can read it like you read the CAPCOM logo when holding the case, DIPS would be oriented the same way. A on the left, C on the right.
But that would be upside down?

I'll probably be passing on this case. I like a lot about it. But the controls on the rear (which you call the front) are a deal breaker.
 
I think I lost track on my thread. Back on topic.

If you want to really remote mount your screen: Ill have this blanking plate available as a 3D printed part (both files and I can print some).

1655810120025.png


If you really want to use the filterboard mounted DIP SWITCHES or move them somewhere else entirely, this can be used inside the case to blank out the holes nicely. Same as above, ill have some 3D printed ones and offer the files up for those who have their own 3D printer.

1655810199441.png


Finally, here's an updated Case Design. I think this actually meets what most people who have my existing cases already want.

1655810295178.png


I am considering an alternate option, if sufficient demand exists for this and the other version, that moves the screen and dip board to the top of the case where the CAPCOM is. Keep in mind, it can't go to the other side due to the "C" board on top of the multi-kit. This would put most everything in one side of the case essentially. The screen would be situated so that you can read it like you read the CAPCOM logo when holding the case, DIPS would be oriented the same way. A on the left, C on the right.

This is all in my discord as well!

Definitely not a convenient location for the LCD for me, as that would be in the "back" from my perspective. Would you also include the support for the filter board located dips?
 
Definitely not a convenient location for the LCD for me, as that would be in the "back" from my perspective. Would you also include the support for the filter board located dips?

There is a slot cutout on the back of the case to route the ribbon cable out and connect it to the filter board with some double stick pads like most are doing it now.
 
But that would be upside down?

I'll probably be passing on this case. I like a lot about it. But the controls on the rear (which you call the front) are a deal breaker.

I suspect this might be an orientation misunderstanding, so this should help better explain what i meant. This probably appeals to those who want this in a cabinet and will mount it vertically for whatever reason (i.e. JAMMA harness is too short and they dont want to use an extension cable.

1655816603599.png


The alternative would be this way. Better out of a cabinet for those who don't care about all of the connections leaving the case from one spot and don't want a more "console" look like I did on the CPS2 case.

1655816721052.png


Generally speaking, more people want the console style from private conversations. I.e. the screen/dips on the side opposite of the filter board. If I can commitments (i.e. orders) for both styles I will do both styles. It's just two separate runs.
 
The LCD should be readable when looking down at the JAMMA connector IMHO.
Amen!

I kinda like it, but the LCD screen and remote DIPs should swap locations (ie LCD to the Right side of the case, DIPs on the Left).
This change would allow us to use shorter IDC cables (as the DIPs attach to the left side of the A-board, and the LCD right hand side of the multi board).

Also I'm really concerned about air flow around the A-board (esp that custom)...
I see you've added a fan/vent hole, could you make it two (one for cool air in, other for hot air out)?
 
If I can commitments (i.e. orders) for both styles I will do both styles. It's just two separate runs.
Not trying to be a douchbag J... But if you don't keep the LCD/DIPs nearest the JAMMA edge/key I won't be purchasing this case.
Its literally a make or break decision for me.

I NEED to be able to select games AND set DIPs while the PCB is installed in my cab.
The JAMMA edge/key always faces out in a cab.
 
I put up a straw poll with some options on my discord. You can access it here too: https://dashboard.coodo.xyz/?id=990081529399091260

This will help fine tune where everyone's heads are with their needs. Dont worry about the exact placements of the screens/dips on the top of the case based on earlier pictures, they were thrown together to just give an idea of what it would look like before doing anything final.
 
I was goofing around with my 3d printer and laser cutter today validating some dimensions before the metal variation is done. Rather happy with this and even more confident that the pre-prototype preorders will be a very short wait until production 😁💪

Don't mind the protective paper. I haven't completely assembled it yet. Need to heat press some fittings into the printed pillars still.

PXL_20220704_113854101.jpg

PXL_20220704_093147365.jpg

PXL_20220704_093014916.jpg
 
Yeah it will. Just needs a minor adjustment.
 
With the metal case, you will need to use thicker double stick tape to attach the filter board dip switches. Something like the below will work:

https://www.amazon.com/Double-Mount...sprefix=thick+double+sided+tap,aps,234&sr=8-6

There are limitations to what is acceptable for cutouts near permanently attached hardware to prevent flareout. So, by using thicker tape you will essentially stand off the dipsw board and it will clear the metal (which is a lot thinner than my 5mm plexi in this case).
 
Makes sense. I figured it was a structural integrity consideration and not an oversight.

I might be alone, but I would take plastic over metal on this design.
 
Back
Top