Hi all,
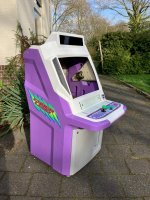
Kinda new here, but after half a year of planning and waiting I am finally able to start the restoration of my 'dream' candy cab, which I would love to share with you all!
Some context: back in the early 2010's I was an avid user on a Dutch candycab forum as a late-teen, where multiple people owned a Cyber Lead. I freakin' loved this cabinet design, it's the best kind of 'campy', the 90's purple with a gundam-esque cabinet shape and a DMD marquee In my opinion it's the dopest cabinet ever made...
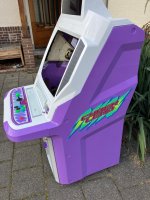
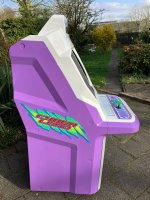
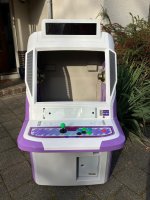
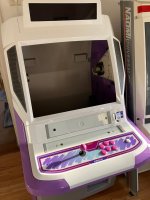
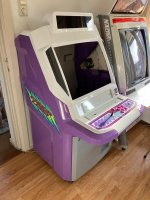
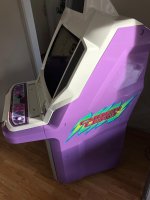
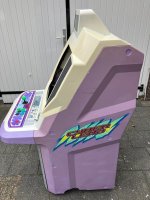
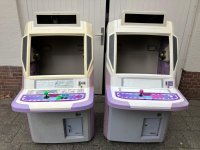
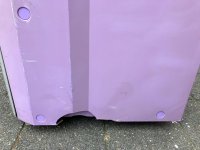
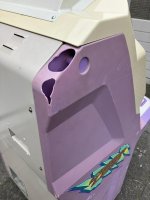
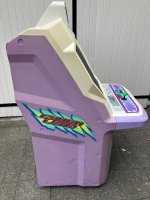
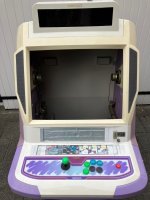
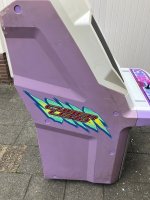
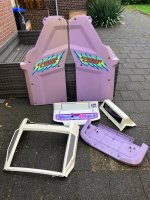
Back then I saved a lot of money and could only afford a Astro City (which were significantly cheaper at that time). Well, times have changed, and I have been in contact with a old forum friend of mine who, by chance, happened to have two Cyber Leads and was willing to sell one. It took a while to get everything arranged, and by the end, we made a nice agreement that I will also be restoring his Cyber Lead. Both are in the shape you expect most Cyber Leads to be. Discolored purple side panels, yellowed bezel, missing corner-plastic due to brittleness etc.
My restoration plan is the following:
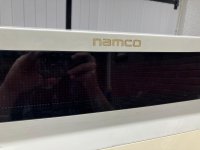
After that, one CL will go back and I will receive my monitor. Regarding the monitors, one CL is the Toei setup (identifiable by the missing 'Namco' text on the marquee), and the other an MS9. The MS9 is getting tube-swapped due to bad burn-in. I chose to take the MS9, as it is more reliable and I am not a repair-wizard. My goal is to find someone that is able to recap/service my monitor, as that is beyond my expertise and this will be my 'forever' cab (going with me to my retirement home), so in the end I want it be in great shape.
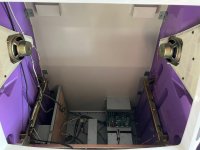
Sadly, both cabinet are missing to original Namco Jamma --> JVS i/o board. Luckily I was able to purchase someones Irkenlabs Jammafier (which should be an upgrade)! I will mainly be playing a Mister FPGA (which can output 15khz over vga directly, if I am correct) but would love to own a few of my favorite titles on pcb.
Anyway, that's the plan for now. I've already read Ziggy's restoration thread multiple times, and we have been in contact (thanks Ziggy!!!) but if anyone has any tips, let me know
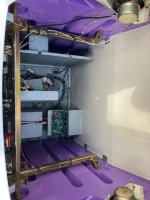
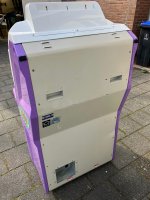
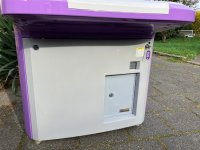
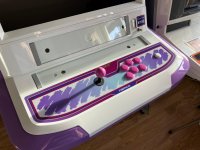
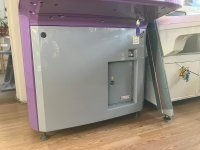
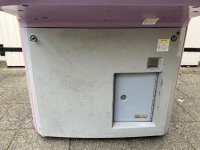
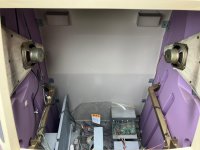
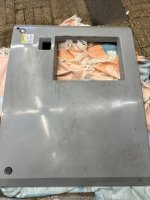
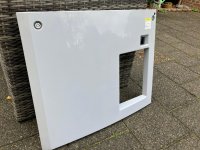
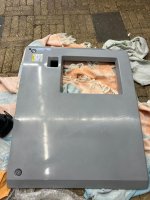
Now for some first-impression of the build quality of these cabs I did not expect them to be this flimsy- / frail feeling (despite this being common information). Usually people talk about the sidepanels, and they are probably the most likely parts getting damaged due to the brittle plastic, but I thought I was wrecking the entire cabinet when try to open the CP. Every plastic part bends, as the weird mechanism puts stress on the cp, the bezel and other parts. The bottom-door covering the PCB area is also loose and feels like flimsy plastic. Personally, I think that these cabinets are not suitable for non home-use, but otherwise they should be fine (unless you trip and fall against the sidepanels or kick the door due to dying on a 1CC- run). And that is fine... I picked a Cyber Lead over a common Sega cab because I love the design. People also drive unreliable rotary engines for no logical reason, other than passion.
Now it's time for a photo-dump
Kinda new here, but after half a year of planning and waiting I am finally able to start the restoration of my 'dream' candy cab, which I would love to share with you all!
Some context: back in the early 2010's I was an avid user on a Dutch candycab forum as a late-teen, where multiple people owned a Cyber Lead. I freakin' loved this cabinet design, it's the best kind of 'campy', the 90's purple with a gundam-esque cabinet shape and a DMD marquee
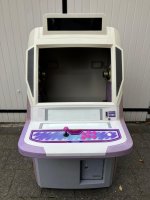
In my opinion it's the dopest cabinet ever made...Back then I saved a lot of money and could only afford a Astro City (which were significantly cheaper at that time). Well, times have changed, and I have been in contact with a old forum friend of mine who, by chance, happened to have two Cyber Leads and was willing to sell one. It took a while to get everything arranged, and by the end, we made a nice agreement that I will also be restoring his Cyber Lead. Both are in the shape you expect most Cyber Leads to be. Discolored purple side panels, yellowed bezel, missing corner-plastic due to brittleness etc.
My restoration plan is the following:
- Fill the holes / missing plastic
- Find a way to strengthen the brittle plastic (if possible, perhaps with a paint?)
- Disassemble, and bring all exterior parts to a prof. paintshop
- Deep-clean the cabinet, wiring etc.
- Ultra-sonic clean / tumble suitable parts
- Re-apply decals (I might contact someone to make high quality scans)
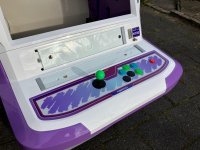
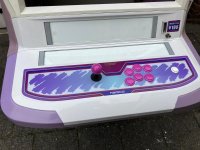
- Restore the control panel (using Novus and a lot of buffing)
- Clean, and possible fix, the DMD (if any col/rows are broken)
- Re-assemble
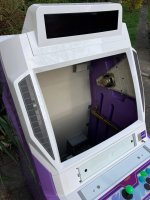
After that, one CL will go back and I will receive my monitor. Regarding the monitors, one CL is the Toei setup (identifiable by the missing 'Namco' text on the marquee), and the other an MS9. The MS9 is getting tube-swapped due to bad burn-in. I chose to take the MS9, as it is more reliable and I am not a repair-wizard. My goal is to find someone that is able to recap/service my monitor, as that is beyond my expertise and this will be my 'forever' cab (going with me to my retirement home), so in the end I want it be in great shape.
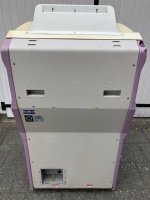
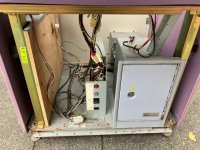
Sadly, both cabinet are missing to original Namco Jamma --> JVS i/o board. Luckily I was able to purchase someones Irkenlabs Jammafier (which should be an upgrade)! I will mainly be playing a Mister FPGA (which can output 15khz over vga directly, if I am correct) but would love to own a few of my favorite titles on pcb.
Anyway, that's the plan for now. I've already read Ziggy's restoration thread multiple times, and we have been in contact (thanks Ziggy!!!) but if anyone has any tips, let me know
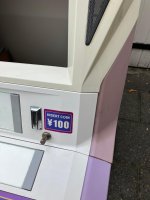
Now for some first-impression of the build quality of these cabs
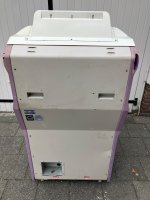
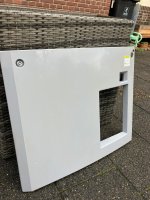
I did not expect them to be this flimsy- / frail feeling (despite this being common information). Usually people talk about the sidepanels, and they are probably the most likely parts getting damaged due to the brittle plastic, but I thought I was wrecking the entire cabinet when try to open the CP. Every plastic part bends, as the weird mechanism puts stress on the cp, the bezel and other parts. The bottom-door covering the PCB area is also loose and feels like flimsy plastic. Personally, I think that these cabinets are not suitable for non home-use, but otherwise they should be fine (unless you trip and fall against the sidepanels or kick the door due to dying on a 1CC- run). And that is fine... I picked a Cyber Lead over a common Sega cab because I love the design. People also drive unreliable rotary engines for no logical reason, other than passion.Now it's time for a photo-dump
Attachments
-
 c18.jpeg183.3 KB · Views: 80
 -
 cl1.jpeg177.8 KB · Views: 70
 -
 cl20.jpeg148.4 KB · Views: 76
 -
 cl22.jpeg100.3 KB · Views: 64
 -
 cl23.jpeg100.6 KB · Views: 73
 -
 cl25.jpeg184.4 KB · Views: 56
 -
 cl30.jpeg174 KB · Views: 109
 -
 cl34.jpeg125.3 KB · Views: 81
 -
 cl33.jpeg135 KB · Views: 75
 -
 cl32.jpeg97.6 KB · Views: 78

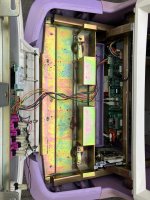
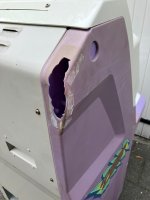
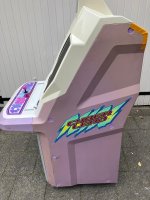
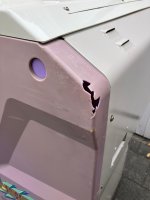


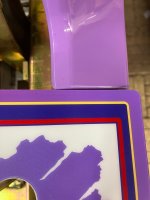
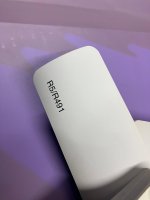
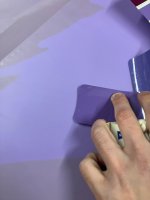
 I chose putty over glassfiber because I assumed it would be easier to use, which I think it was. One of the advantages of glassfiber is that it is stronger, but to be honest, the hardend putty is structurely way better than the original ABS plastic so I assume if the shell would break somewhere, it would likely be a new spot. Glassfiber would be overkill in a CL.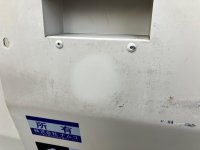
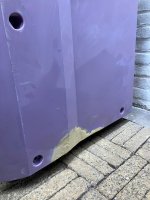
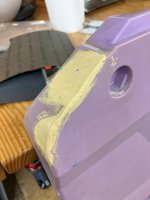
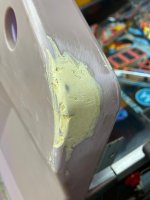
 Idk if the body on the flyer in inaccurate, or all CL's have 'faded' in their color over the years, but my worries about it not looking good were gone.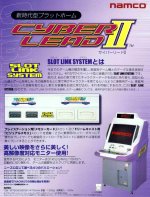

 I scored a (conversion) Progear A+B set locally, so I have a game ready to be played!