

Hello everyone, I'm hoping you can help me with the following problem.
I recently acquired an Astro City arcade cabinet. It came with the original JAMMA wiring (as far as I understand) and a Pandora DX 5000. I currently have some original PCBs from Neo Geo, Polygame Master, and Crystal System, but I understand that to display them correctly, I should make the corresponding image adjustments on the chassis. I'd like to know if it's possible to install a remote adjustment control to facilitate these changes, but I understand that to do so, I would need to know the chassis model, and I'm not sure about that since I thought the original chassis was replaced, but I can't confirm it. Would it be possible to determine the chassis model from these images? (I haven't been able to take any higher-quality ones.)
I would appreciate any support in this regard.
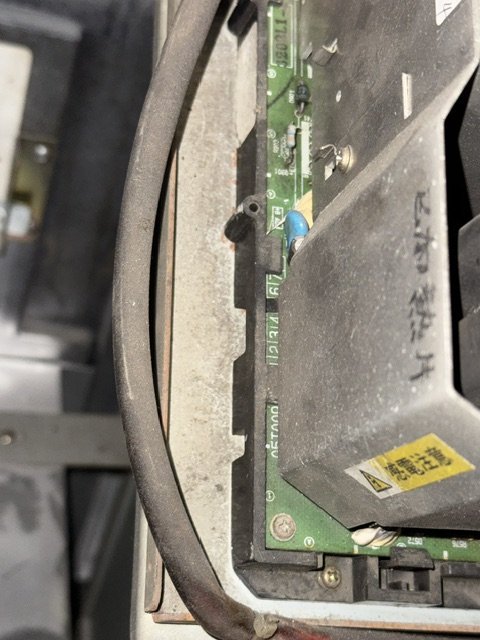
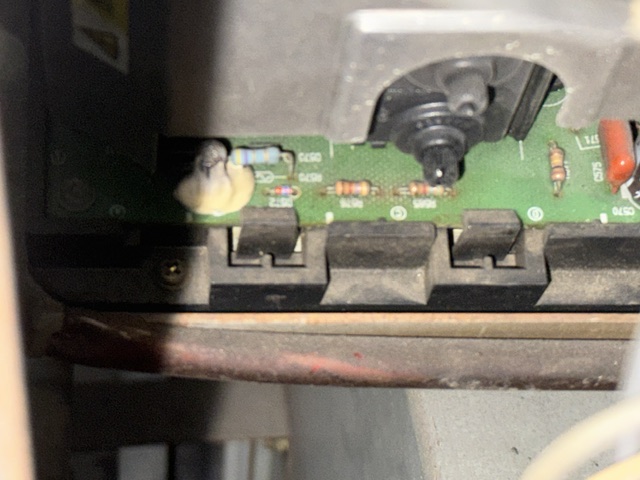
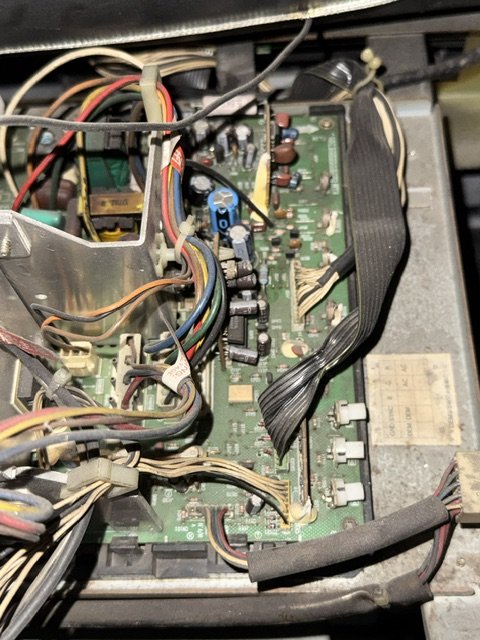
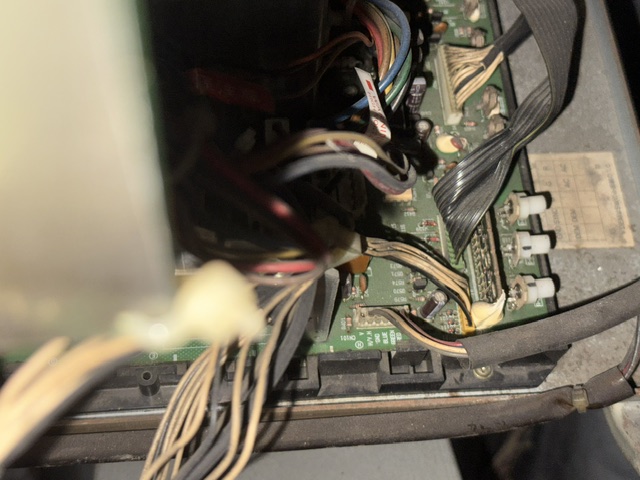
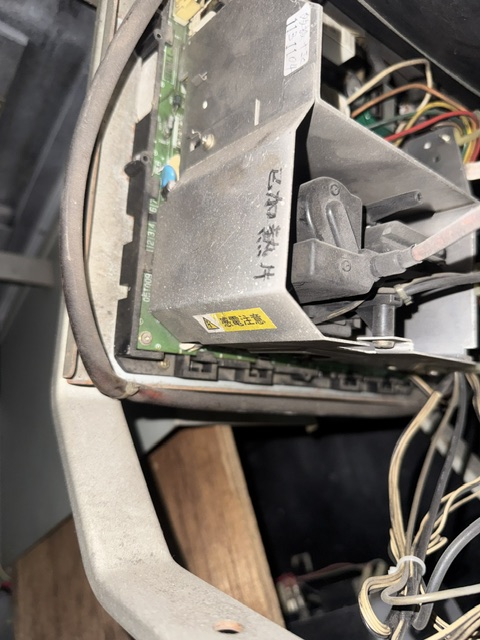
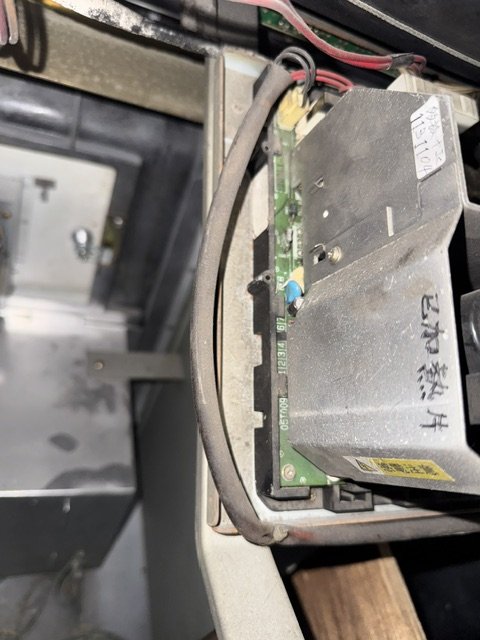
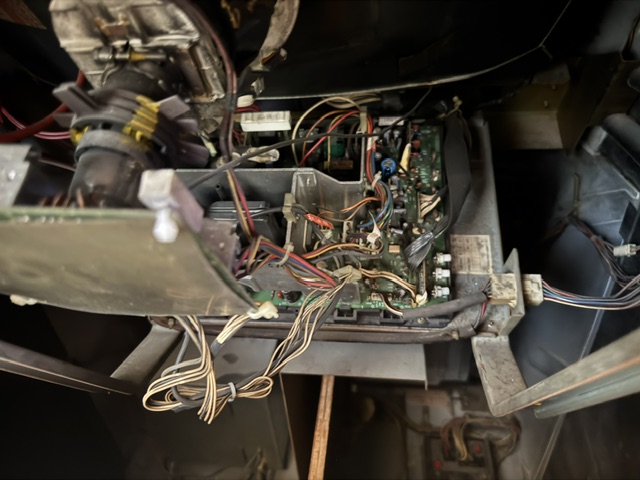
I recently acquired an Astro City arcade cabinet. It came with the original JAMMA wiring (as far as I understand) and a Pandora DX 5000. I currently have some original PCBs from Neo Geo, Polygame Master, and Crystal System, but I understand that to display them correctly, I should make the corresponding image adjustments on the chassis. I'd like to know if it's possible to install a remote adjustment control to facilitate these changes, but I understand that to do so, I would need to know the chassis model, and I'm not sure about that since I thought the original chassis was replaced, but I can't confirm it. Would it be possible to determine the chassis model from these images? (I haven't been able to take any higher-quality ones.)
I would appreciate any support in this regard.


