mob-z
Student
I have been putting of this project and prolonging it for quite some time, trying to find an excuse to stay away. But I have decided that it is time.
When I first started working on the cab, I had power issues (not enough power to run the main motherboard). The screen would turn on, but it would just be static/green screen.
After resorting to the good people of this community, I was finally able to make it come alive! (special thanks to nem for helping out) which can be viewed here (https://www.arcade-projects.com/threads/help-with-neo-geo-mv25up-0.26541/)
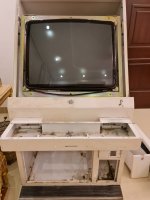
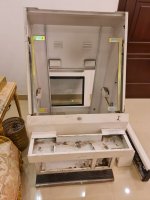
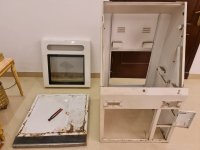
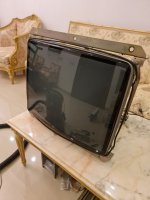
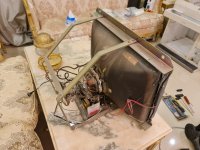
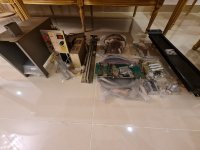
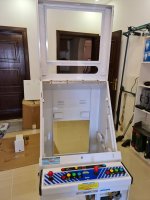
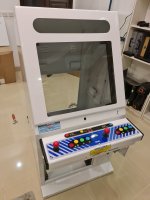
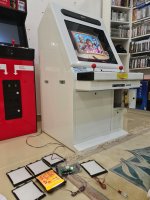
After being able to power up the arcade and made sure that it was fully functional, I decided to strip everything apart, making sure to take a lot of pictures and label all the parts in order to remember where everything goes when I put it back again.
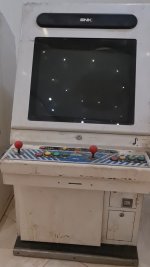
I started off by removing the main board, and as you can tell, it hasn't been cleaned up in quite some time. Below are pictures before and after cleaning.
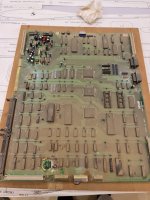
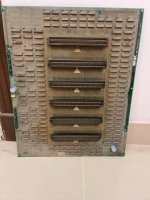
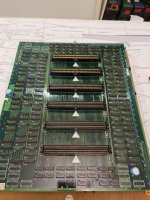
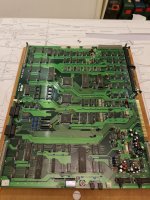
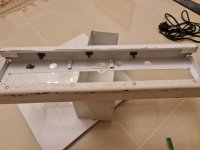
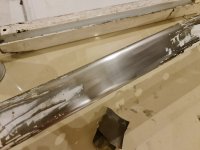
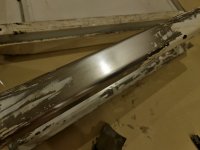
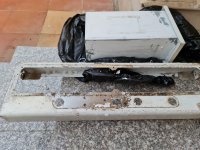
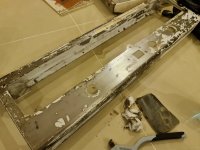
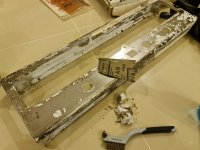
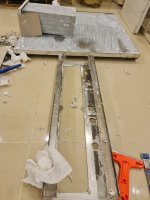
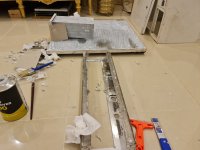
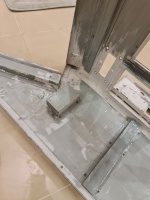
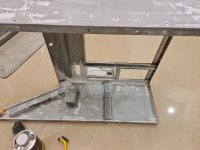
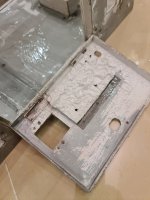
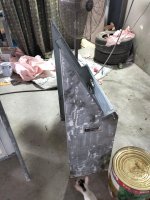
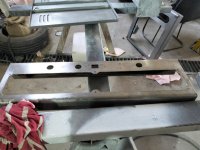
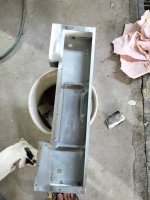
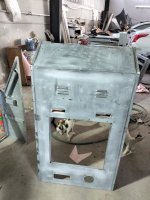
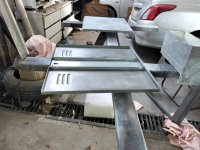
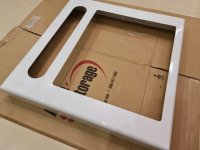
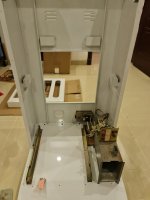
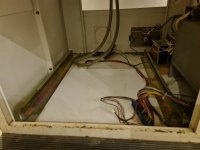
The cab wasn’t too dirty but also wasn’t too clean to begin with. I had to take it apart as I was able to spot rust in different places, which suggest that either could be due to bad storage or kids spilling their drinks while playing who knows!
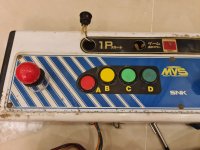
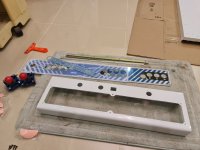
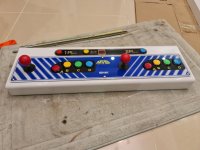
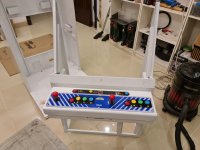
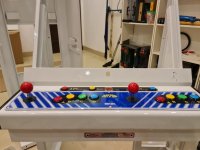
The first thing I started with was the control deck since it was an easily removable part, or at least that’s what I though…..
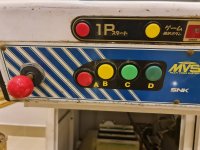
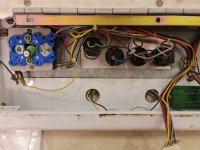
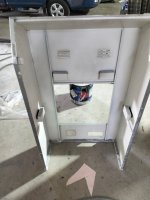
The deck was locked from the bottom, and I didn’t have the keys to open it, so I had to come up with different ideas, but ended up using a drill to make a hole through the lock itself, luckily, no damaged wires.
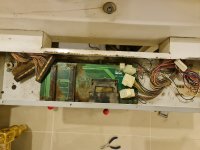
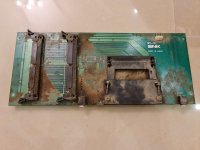
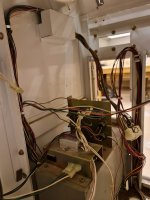
Not too bad, just lots of dirt. That MV-IC needs some serious cleaning!
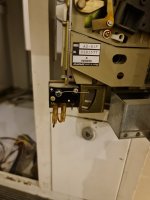
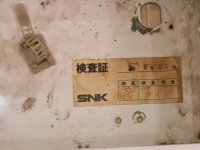
Interesting to see the manufacturing date on this cab. If I’m translating this correctly, this would mean that this cab was inspected around 26th August 1993 (since the arcade was released in the 1990s), correct me if I’m wrong!
To be continued...
When I first started working on the cab, I had power issues (not enough power to run the main motherboard). The screen would turn on, but it would just be static/green screen.
After resorting to the good people of this community, I was finally able to make it come alive! (special thanks to nem for helping out) which can be viewed here (https://www.arcade-projects.com/threads/help-with-neo-geo-mv25up-0.26541/)
After being able to power up the arcade and made sure that it was fully functional, I decided to strip everything apart, making sure to take a lot of pictures and label all the parts in order to remember where everything goes when I put it back again.

I started off by removing the main board, and as you can tell, it hasn't been cleaned up in quite some time. Below are pictures before and after cleaning.


The cab wasn’t too dirty but also wasn’t too clean to begin with. I had to take it apart as I was able to spot rust in different places, which suggest that either could be due to bad storage or kids spilling their drinks while playing

The first thing I started with was the control deck since it was an easily removable part, or at least that’s what I though…..

The deck was locked from the bottom, and I didn’t have the keys to open it, so I had to come up with different ideas, but ended up using a drill to make a hole through the lock itself, luckily, no damaged wires.


Not too bad, just lots of dirt. That MV-IC needs some serious cleaning!
Interesting to see the manufacturing date on this cab. If I’m translating this correctly, this would mean that this cab was inspected around 26th August 1993 (since the arcade was released in the 1990s), correct me if I’m wrong!

To be continued...

