

eczangief
Enthusiast
Deep cleaning of the Pony glass went south when the paint began to lift from the interior of the glass. Not the biggest deal because it was in sorry shape to begin with. In retrospect, the ease with which the paint was disturbed explains the plague of random black specks that I’ve suffered on the inside of the glass, over the playfield. I’d clean the glass of dust and debris whenever I rotated the tube, and without fail there’d be annoying (and hard to remove) dots marring the glass. Turns out it was bits of paint falling and getting baked back onto the glass. I digress.
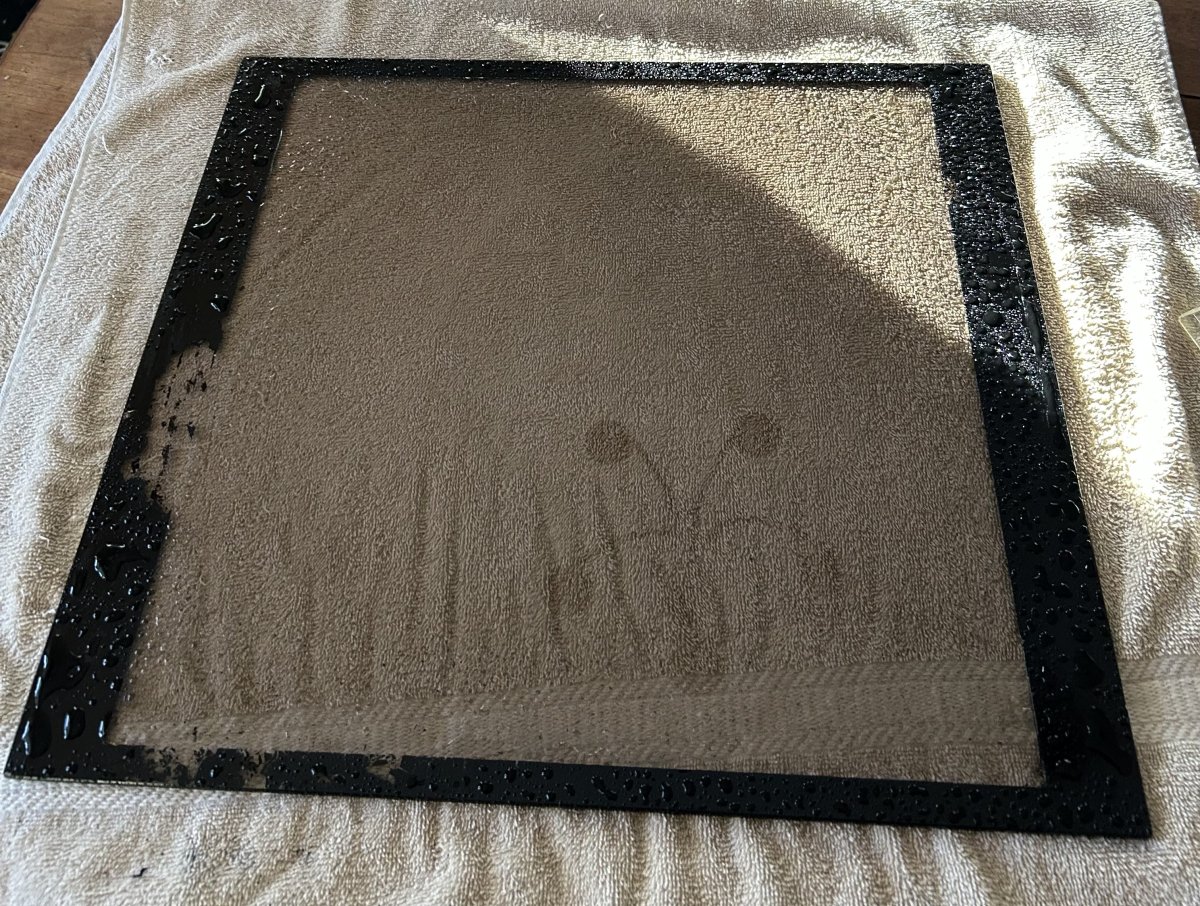
5 years ago I would have had a brief moment of dread, but having children has beaten that out of me. Instead I switched from a spray bottle and a rag to a flat razor and went to work removing the rest of the paint.
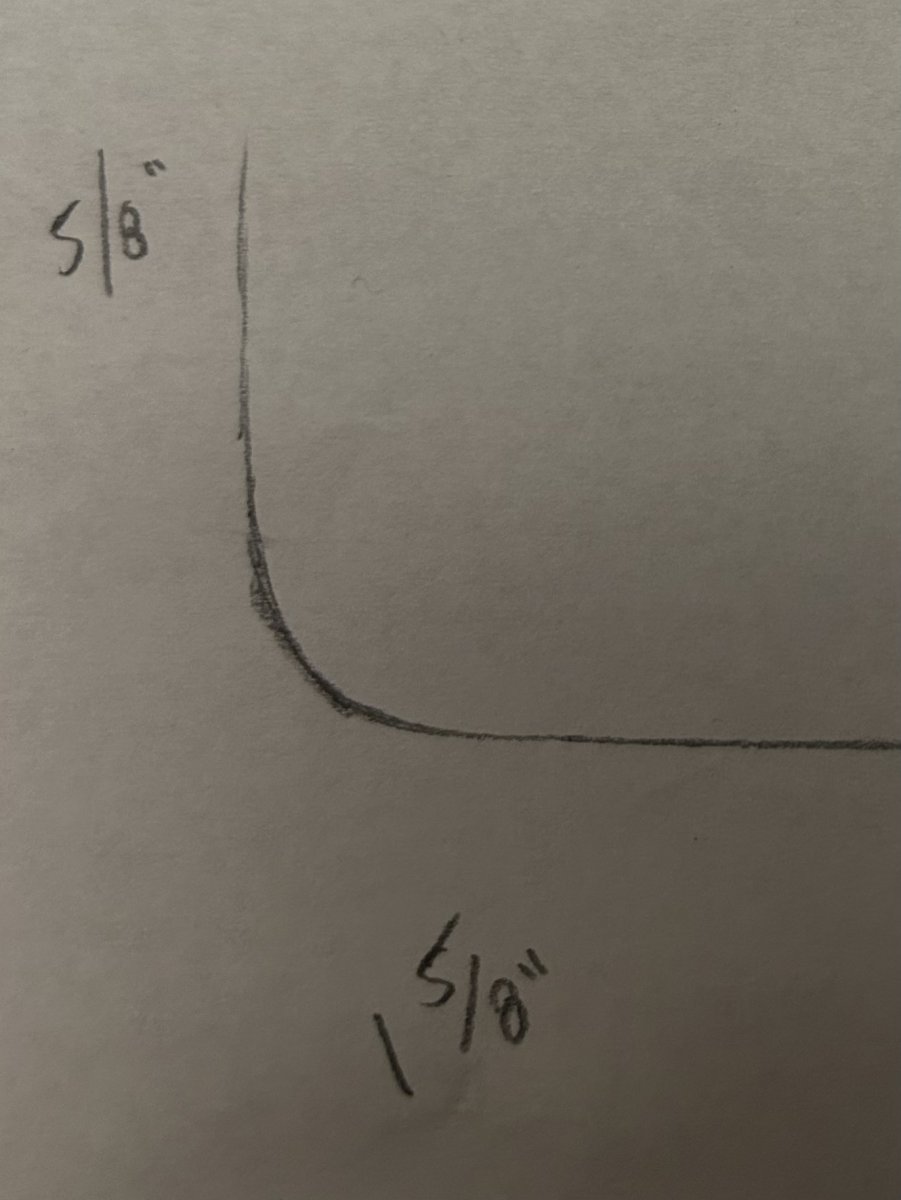
The wide strips left and right are approx. 1 and 5/8” or 4cm. The narrow margins are 5/8” or 1.7cm. The measurements were slightly off amongst each border, but those are very close. There was evidence of a curve to meet the two margins in only one of my corners, the rest had sloughed off before the machine came into my possession.
Here’s my pisspoor tracing of it:
My first thought was to tape off the design and spray it with matte black, but it will not be spray paint weather for awhile around here. I figured vinyl wouldn’t be too difficult to apply and then carefully cut out the margins and the curve that joined them.
At this point I realized that the narrow margins were totally obscured by the cabinet metal (lip of the CP and the upper housing where the top of the glass is set into). Armed with this revelation, I decided to simply adhere two vertical stripes of matte black vinyl to the glass and be done with it.
I went with Make Market brand permanent vinyl. Cheap stuff, 7usd for a 1x4’ roll.

Never been more proud of a straight edge.
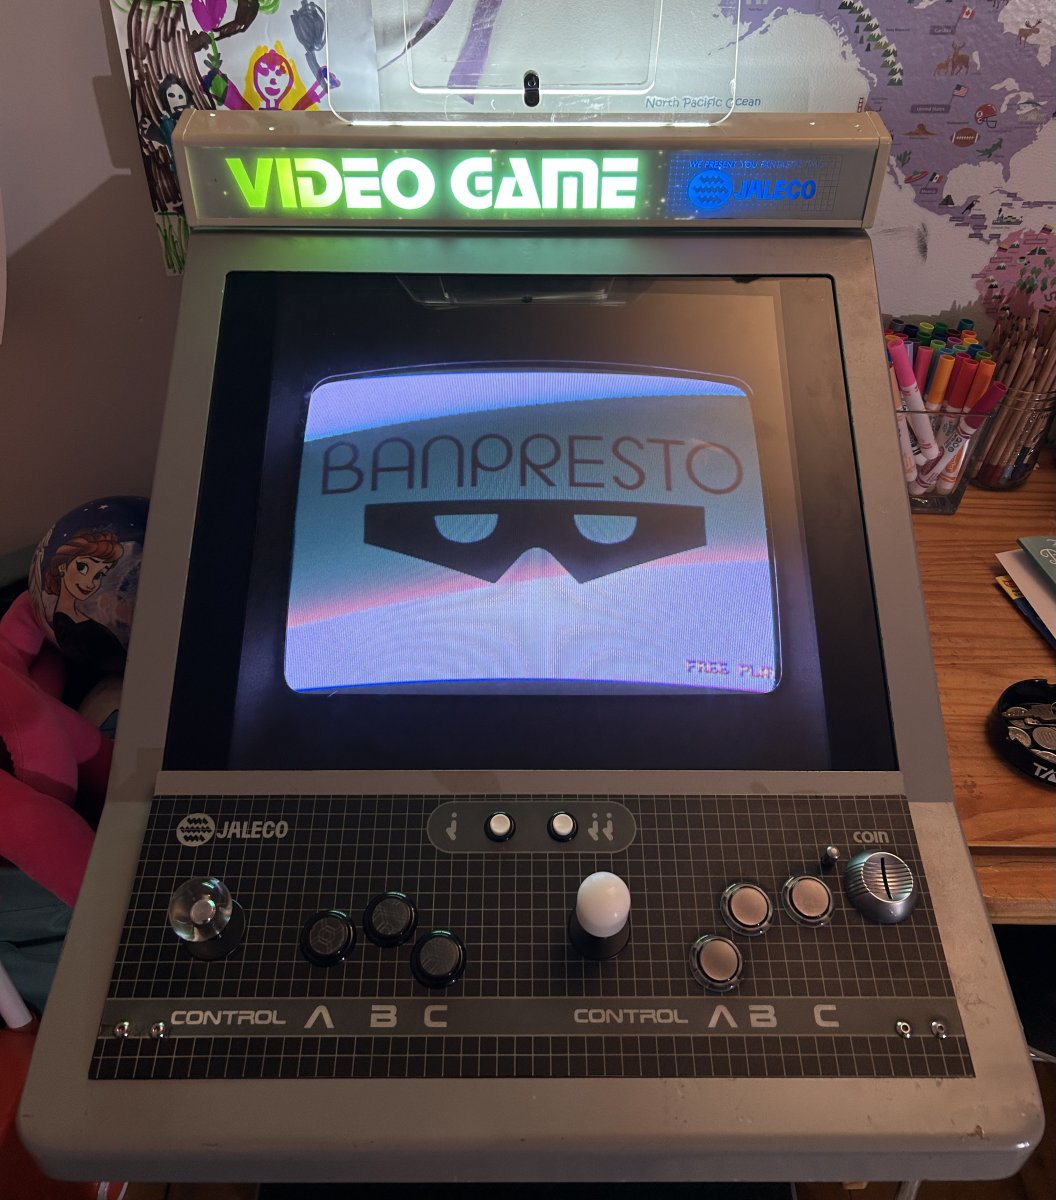
The trained eye will observe that it really isn’t my machine anymore. We’ll see how the rugrats like Dad’s work in the morning.
5 years ago I would have had a brief moment of dread, but having children has beaten that out of me. Instead I switched from a spray bottle and a rag to a flat razor and went to work removing the rest of the paint.
The wide strips left and right are approx. 1 and 5/8” or 4cm. The narrow margins are 5/8” or 1.7cm. The measurements were slightly off amongst each border, but those are very close. There was evidence of a curve to meet the two margins in only one of my corners, the rest had sloughed off before the machine came into my possession.
Here’s my pisspoor tracing of it:
My first thought was to tape off the design and spray it with matte black, but it will not be spray paint weather for awhile around here. I figured vinyl wouldn’t be too difficult to apply and then carefully cut out the margins and the curve that joined them.
At this point I realized that the narrow margins were totally obscured by the cabinet metal (lip of the CP and the upper housing where the top of the glass is set into). Armed with this revelation, I decided to simply adhere two vertical stripes of matte black vinyl to the glass and be done with it.
I went with Make Market brand permanent vinyl. Cheap stuff, 7usd for a 1x4’ roll.
Never been more proud of a straight edge.
The trained eye will observe that it really isn’t my machine anymore. We’ll see how the rugrats like Dad’s work in the morning.