Virtua Fighter 3 Restoration

Khatru311

Enthusiast
Joined
Dec 8, 2021
Messages
124
Reaction score
160
Location
Las Vegas
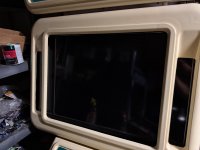
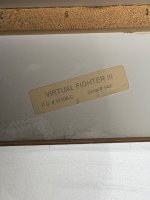
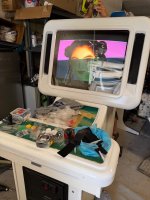
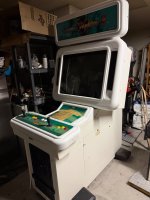
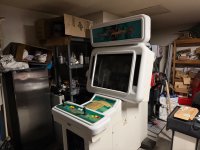
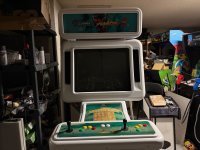
I picked up this dedicated Virtual Fighter 3 machine that had been converted to 42” LCD.

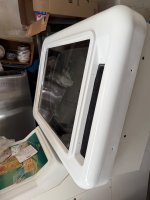
Due to the LCD size, plastic were cut and the original speakers were removed. Let’s bring it back to its former glory!

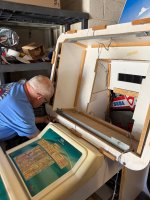
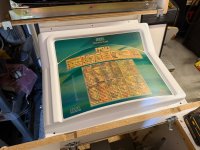
The marquee had fallen inwards and you can see how the LCD extends into where the speakers used to be.
 

Attachments

  • IMG_2308.jpeg
    IMG_2308.jpeg
    377.5 KB · Views: 66
  • IMG_3036.jpeg
    IMG_3036.jpeg
    188.7 KB · Views: 47
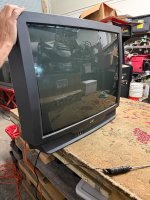
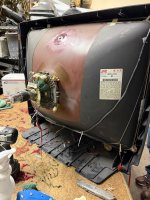
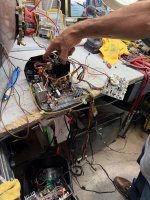
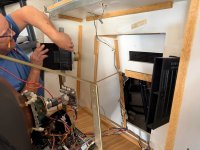
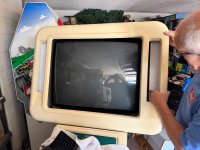
Surprisingly, I was able to fina Virtua Fighter 3 monitor frame on KLOV from kittybeater. Then, after months of searching, Sharp image in Las Vegas was able to find me a suitable 32” CRT! They built me a chassis and put the tube on the frame.
 

Attachments

  • IMG_3060.jpeg
    IMG_3060.jpeg
    287.3 KB · Views: 26
  • IMG_3059.jpeg
    IMG_3059.jpeg
    402.1 KB · Views: 28
  • IMG_3062.jpeg
    IMG_3062.jpeg
    363.2 KB · Views: 32
  • IMG_3061.jpeg
    IMG_3061.jpeg
    436.5 KB · Views: 29
  • IMG_3041.jpeg
    IMG_3041.jpeg
    324.9 KB · Views: 29
  • IMG_3042.jpeg
    IMG_3042.jpeg
    476 KB · Views: 28
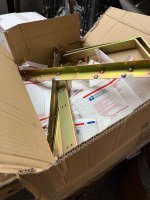
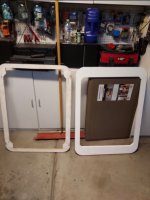
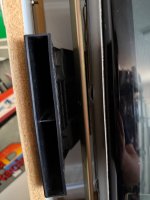
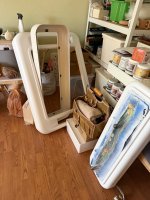
With the LCD removed, we noticed that the large wooden bracket that supports the CRT and speakers had been heavily modified. Luckily, my carpenter buddy was able to make me a new one.

Old on the left, new on the right.
 

Attachments

  • IMG_3201.jpeg
    IMG_3201.jpeg
    360.2 KB · Views: 27
  • IMG_3200.jpeg
    IMG_3200.jpeg
    257.9 KB · Views: 30
  • IMG_3286.jpeg
    IMG_3286.jpeg
    186.9 KB · Views: 30
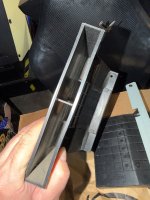
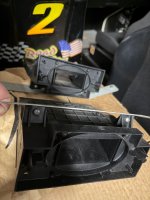
Speaker wise, I was lucky enough to have some speaker molds left over from my Virtual On project that fit perfectly into this cabinet. I put new oval speakers in as well.
 

Attachments

  • IMG_3205.jpeg
    IMG_3205.jpeg
    425 KB · Views: 18
  • IMG_3204.jpeg
    IMG_3204.jpeg
    267.3 KB · Views: 21
  • IMG_3277.jpeg
    IMG_3277.jpeg
    300.2 KB · Views: 19
  • IMG_3280.jpeg
    IMG_3280.jpeg
    218.5 KB · Views: 17

Attachments

  • IMG_3271.jpeg
    IMG_3271.jpeg
    326.9 KB · Views: 21
  • IMG_3281.jpeg
    IMG_3281.jpeg
    379.4 KB · Views: 21
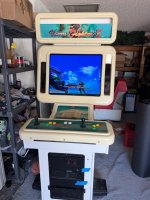
Update. Just need to add the topper. This took way longer than I thought it would.

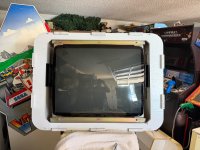
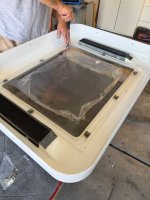
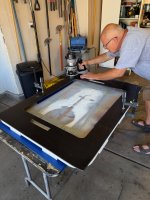
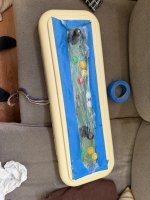
Plastic marquee was cut at some point, had to make a black bezel around the monitor, paint and cut some plexi to put in front of the monitor. Had to add new speaker grills etc.

I’ve very happy with how it has turned out so far.

I’m into this for way more than its work now. The monitor alone was expensive. However, when I first started collecting games this is one I wanted and it’s staying.
 

Attachments

  • IMG_4184.jpeg
    IMG_4184.jpeg
    330.8 KB · Views: 19
  • IMG_4176.jpeg
    IMG_4176.jpeg
    203.1 KB · Views: 18
  • IMG_4168.jpeg
    IMG_4168.jpeg
    363.5 KB · Views: 19
  • IMG_4165.jpeg
    IMG_4165.jpeg
    363.7 KB · Views: 22
  • IMG_4103.jpeg
    IMG_4103.jpeg
    336.5 KB · Views: 20
  • IMG_4094.jpeg
    IMG_4094.jpeg
    553.5 KB · Views: 18
  • IMG_3935.jpeg
    IMG_3935.jpeg
    338.3 KB · Views: 17
  • IMG_3930.jpeg
    IMG_3930.jpeg
    488.2 KB · Views: 19
  • IMG_3905.jpeg
    IMG_3905.jpeg
    337.4 KB · Views: 19
  • IMG_3902.jpeg
    IMG_3902.jpeg
    452.9 KB · Views: 19
Back
Top