ArcadeMachinist
Professional
So one of SEGA Lindbergh monitors, I have in the arcade, recently died.
Problem was in the backlight driver, that would go off 10-20 seconds after beeing powered on.
This seemed beoynd reasonable repair effort (and origianl monitor is crap anyway with heavily worn screen).
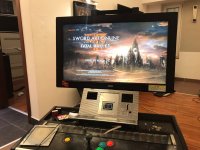
So I have took the cabinet home for renovations.
I have just scrolled thru the subforum and realized Hadouken Arcade used exactly same monitor (LG 32MP58HQ) for his Taito Vewlix upgrade.
I swear, I did not read that before. Monitor was chosen after scrolling thru hundreds of alike, available locally (and for a reasonable price).
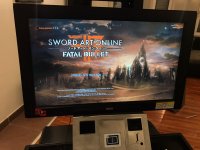
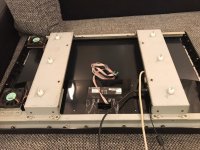
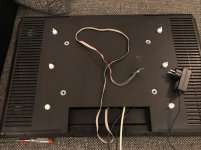
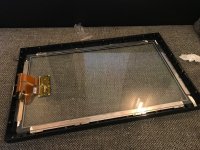
The best thing about it - you dont have to drill/cut/bend anything. You even don't need any tools besides your screewdriver.
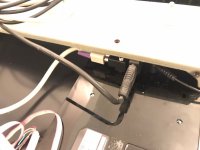
It fits just perfectly into existing frame. No extra parts required, only angle-changing adapters for the ports.
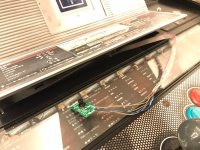
If you don't want access to OSD menu - you can just drag&drop the monitor. If you want OSD joystick into your cab's service area - you would have to extend the cable.
Joystick PCB itself is easy to remove.
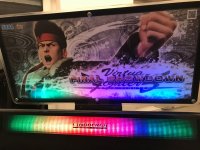
Here are some pics. Feel free to ask questions, if any.
Attachments
Last edited:



 now I need some time
