hoagtech
Enlightened
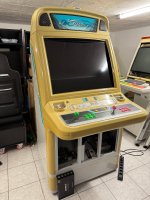
I saw this cab on the marketplace and always had a big screen addiction. The seller said the screen didn't work and it would not turn on.
I used CRST and got this big thing landed in my workshop.
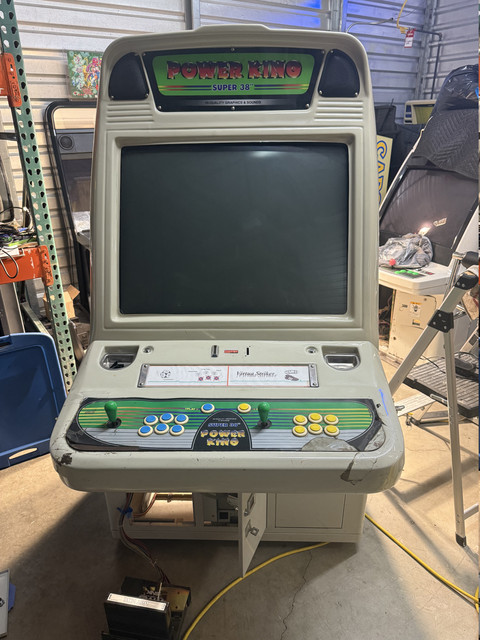
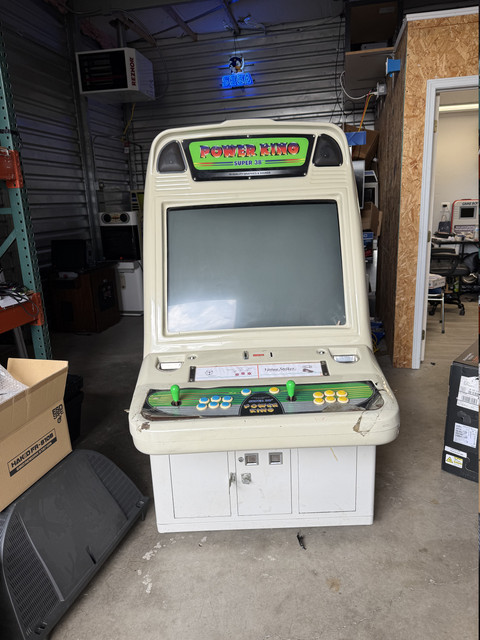
I wanted to start with all fuses and then supply voltages.
All closed circuits on the fuses.
It looks like they left this giant PSU in there. The Ac voltages and DC voltages were just fine but the fan failed. Ill put it aside for now as the other PSU had an isolation transformer and fuse tied into the circuit.

This is the one that is hooked up but I'm not sure if any of it is original.

I went to test the DC Jamma voltage and the connector just kinda flopped around. It felt like a limp handshake or a broken arm. after the connector off I confirmed these pins were barely hanging and flopping around worse than an N64 joystick in 2005.


The pins were held on by a thin layer of solder and the traces were ripped out.

I connected some bodge wires to the nearest circuit to close it and passed continuity.

Apon completion. I tested voltages on +/-5V, 12V and got 5.76V. -6.8V, and 11.1V. This PSU is out of tolerance and needs a recap. I tuned the +5 to 5.1 to run an image test on the chassis.
After firing it up. I got a feint neck glow and a teeny bit of static and was greeted by this lovely line in the center of my screen.

A sign of life?! I'll take it!
Time to remove the chassis and get it to the work bench. I noticed the tube had no degauss strap, only a DAG strap. Strange things.

This chassis is a Dong Woo 500S (tee hee).
The next step Is to create a capacitor map and test each cap on its way out for Cap and ESR to make sure my replacements are within range of the of the good caps I am replacing.

I'm hoping the general purpose Panasonic capacitors are both in stock and compatible on Digikey. Time to get to some relaxing documentation and desoldering.
Wish me luck and feel free to comment with inputs, opinions and tips.
I used CRST and got this big thing landed in my workshop.
I wanted to start with all fuses and then supply voltages.
All closed circuits on the fuses.
It looks like they left this giant PSU in there. The Ac voltages and DC voltages were just fine but the fan failed. Ill put it aside for now as the other PSU had an isolation transformer and fuse tied into the circuit.
This is the one that is hooked up but I'm not sure if any of it is original.
I went to test the DC Jamma voltage and the connector just kinda flopped around. It felt like a limp handshake or a broken arm. after the connector off I confirmed these pins were barely hanging and flopping around worse than an N64 joystick in 2005.
The pins were held on by a thin layer of solder and the traces were ripped out.
I connected some bodge wires to the nearest circuit to close it and passed continuity.
Apon completion. I tested voltages on +/-5V, 12V and got 5.76V. -6.8V, and 11.1V. This PSU is out of tolerance and needs a recap. I tuned the +5 to 5.1 to run an image test on the chassis.
After firing it up. I got a feint neck glow and a teeny bit of static and was greeted by this lovely line in the center of my screen.
A sign of life?! I'll take it!
Time to remove the chassis and get it to the work bench. I noticed the tube had no degauss strap, only a DAG strap. Strange things.
This chassis is a Dong Woo 500S (tee hee).
The next step Is to create a capacitor map and test each cap on its way out for Cap and ESR to make sure my replacements are within range of the of the good caps I am replacing.
I'm hoping the general purpose Panasonic capacitors are both in stock and compatible on Digikey. Time to get to some relaxing documentation and desoldering.
Wish me luck and feel free to comment with inputs, opinions and tips.
Last edited: