What's new

cruzlink2

Professional
Joined
Oct 12, 2015
Messages
257
Reaction score
387
Location
Brooklyn, New York
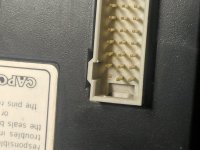
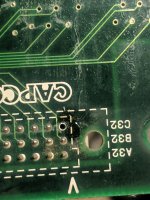
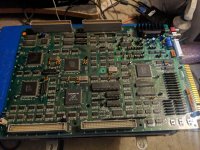
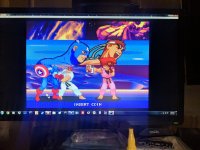
A friends MSH V SF board was showing vertical bars in the video, when I took it off the B board the A board had a broken pin. I was able to take the pin from one of my broken parts board and use it to fix the problem.
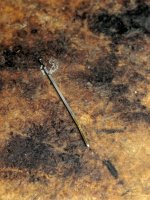
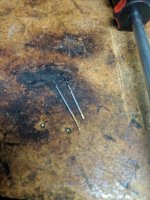
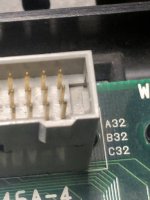
 

Attachments

  • KyleMvSF bad pin.PNG
    KyleMvSF bad pin.PNG
    320.2 KB · Views: 51
  • KyleMvSF bad pin2.PNG
    KyleMvSF bad pin2.PNG
    402.4 KB · Views: 49
Some pictures of the pin replacement.
 

Attachments

  • IMG_20230604_194857.jpg
    IMG_20230604_194857.jpg
    188.9 KB · Views: 85
  • IMG_20230604_200650.jpg
    IMG_20230604_200650.jpg
    231.9 KB · Views: 75
  • IMG_20230604_202722.jpg
    IMG_20230604_202722.jpg
    191.3 KB · Views: 81
  • IMG_20230604_202731.jpg
    IMG_20230604_202731.jpg
    267.3 KB · Views: 79
  • IMG_20230604_203253.jpg
    IMG_20230604_203253.jpg
    148.4 KB · Views: 79
  • IMG_20230604_210909.jpg
    IMG_20230604_210909.jpg
    143.2 KB · Views: 80
  • IMG_20230604_210932.jpg
    IMG_20230604_210932.jpg
    243 KB · Views: 82
  • IMG_20230604_210943.jpg
    IMG_20230604_210943.jpg
    179 KB · Views: 77
Very cool! I didn’t know you could replace the pins without replacing the whole connector.
 
Use a desoldering tool to clear the hole, warm up the pin with an iron, and pull the pin from the solder side?
Thanks!
I'm gonna try sourcing some pins online as the donors I have just aren't long enough. I saw on a different thread that these CPS2 pins have a step down at the connection, meaning generic replacements may need some filing, but the original post didn't appear to have that contour so maybe the pins are easier to swap out than I was led to think...
 
Yea just gget it from a donor, it's easy you heat the solder and at the same time pull the pin with a needle nose and it will come right out no problem.
 
Yea just gget it from a donor, it's easy you heat the solder and at the same time pull the pin with a needle nose and it will come right out no problem.
Ok, so pull it out from the connector side ?
Then for the replacement you thread it up through the PCB then just snip off any excess?
All one direction for both removal and replacement (up away from the PCB)? I ask because another thread said the pins could only really move one direction
 
Back
Top