Konami Windy II - good to great - a refurb

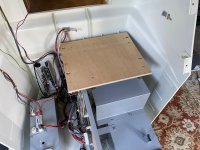
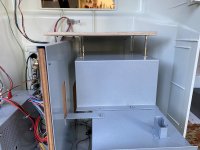
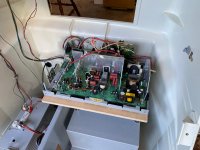
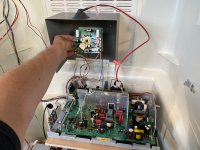
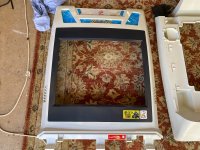
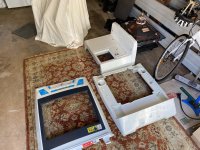
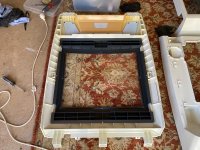
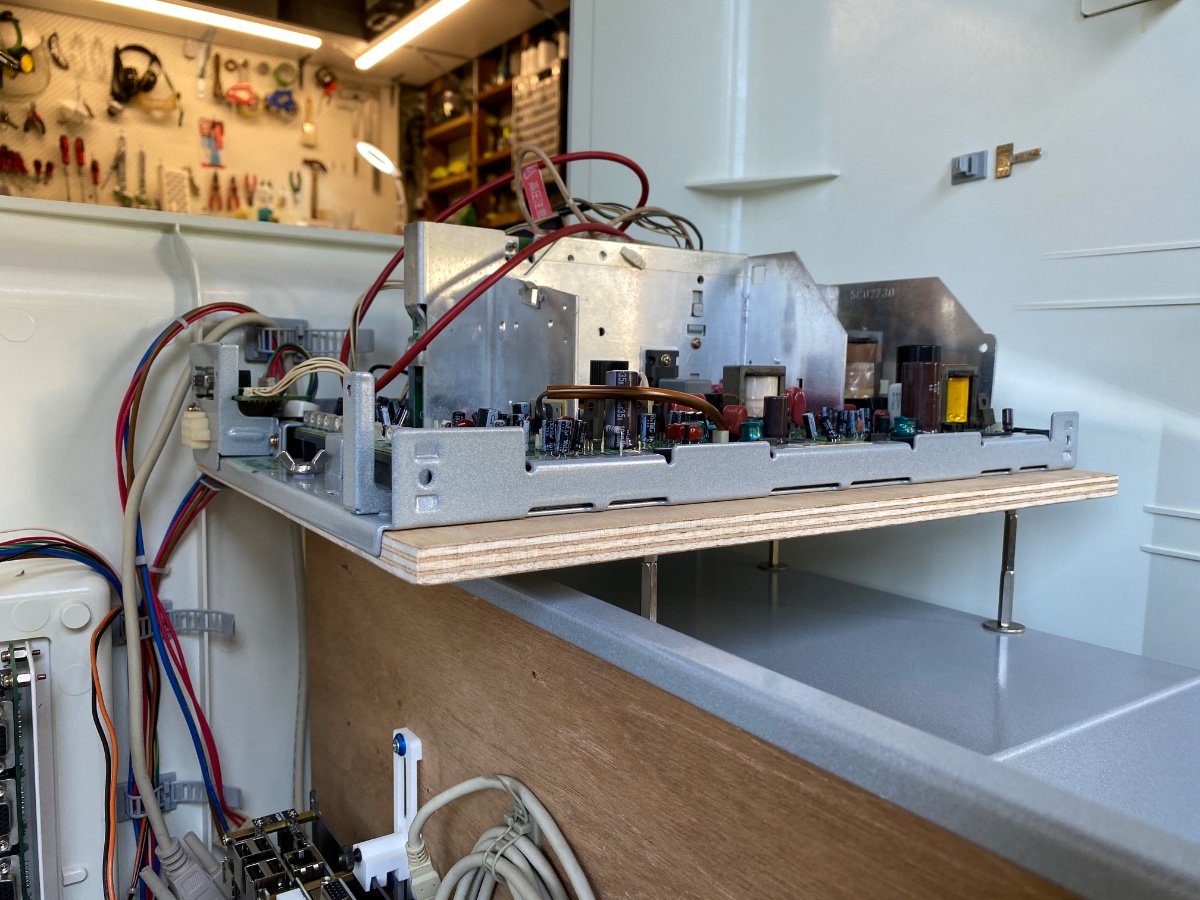
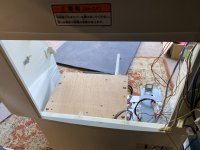
As far as I can tell it fits really well. The main considerations are that the neck board will reach the neck when the monitor is installed and all the other wires which I think will be fine. I also want to be able to reach in and adjust pots if necessary and of course be able to remove the chassis through the back without having to remove the monitor. One unknown is will the tube actually touch the edge of the chassis – my MK1 eyeball thinks not but time will tell.
IMG_6052.jpeg


IMG_6048.jpegIMG_6049.jpegIMG_6050.jpegIMG_6051.jpegIMG_6053.jpegIMG_6055.jpeg
 
Last edited:
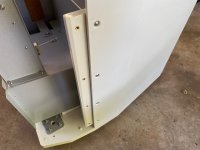
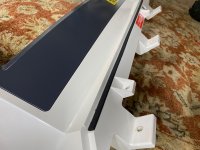
I’m wondering if the bottom of the chassis needs to be ventilated as per these holes in the frame? Remembering this chassis used to sit on the frame of the monitor and the bottom section was open to the air. Perhaps I’ll drill a grid of holes in the wooden shelf? I guess that’s a job for next week now I’m back to work for awhile.
IMG_5785.jpeg
 
Just read through this post, all up to date. Amazing work and attention to detail. Looks great.

I have an Astro City which needs some love and clean up, so this has given me some great ideas if I ever get around to restoring it or making it look more presentable. :) That powder coating has come up very nice indeed, I would think this would be a cheaper option then getting the whole cabinet professional resprayed / repainted ?
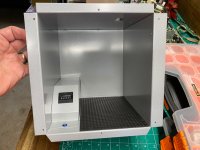
Funny thing to note, a buddy and I have actually have a few chassis over with Steve at Infocus, I did a post on Aussie Arcade forums about it back in 2023. Have to give him another follow up call next week. Still holding onto the dream!

Look forward to any updates.
Cheers from Melbourne.
 
Really amazing work. I have a couple Windys that need some work and this thread is going to be very helpful.

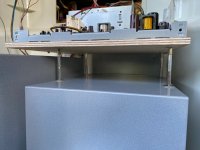
How long do those standoffs need to be?
Thanks @plasticfactory. I think about 10cm but I can confirm for you when I’m home next week. I also need to confirm the height is perfect once I’ve got the tube in, hopefully in a weeks time.
 
Just read through this post, all up to date. Amazing work and attention to detail. Looks great.

I have an Astro City which needs some love and clean up, so this has given me some great ideas if I ever get around to restoring it or making it look more presentable. :) That powder coating has come up very nice indeed, I would think this would be a cheaper option then getting the whole cabinet professional resprayed / repainted ?

Funny thing to note, a buddy and I have actually have a few chassis over with Steve at Infocus, I did a post on Aussie Arcade forums about it back in 2023. Have to give him another follow up call next week. Still holding onto the dream!

Look forward to any updates.
Cheers from Melbourne.
Thanks mate. I’m glad you’re getting some inspiration out of it. I find the powder coating option is great because it looks good and is really hard wearing. It’s always preceded with garnet blasting to clean the rust and gunk off the surface - which takes them two minutes a piece, but would take much longer to prep oneself by stripping and sanding etc. I’m doing an Astro next and might just do the same thing and polish the nice white paint and get doors powder coated. Although the bezel will need paint. I’ll be interested to hear how you go with Steve.
 
Damn it. and it's written in the previous pages. I had to act quickly to get the doors to a friend for the powder coat. guess I could always run a second batch ;) or just spray paint them
Yeah you could just paint them in a similar grey. I never have much luck painting metal like this though - as far as resilience goes. They look fine but will scratch with a fingernail. Maybe I’m not using the right paint 🤷
 
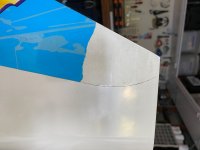
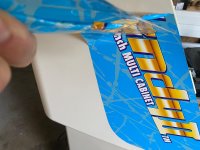
It’s been quite hot here for the past few days making it hard for me to get much done now I’m back from work. I have ticked over a few things though. Removing the side decals with a hair dryers help, removing the dried adhesive and then doing some more polishing. The adhesive wasn’t easy to get off and took a couple of hours. I used De-Solv-It which is a citrus based product. I tried isopropyl alcohol and WD-40 as well but they weren’t better or worse. I find if you can soak the adhesive with the De-Solv-It then it melts it well, but being on the side of the machine it would run off. I used a credit card as a scraper but would recommend plastic razor blades to anyone doing this. If you look closely you can see a few dings in the paint but it still looks good
IMG_6085.jpeg
IMG_6084.jpegIMG_6082.jpegIMG_6078.jpeg
 
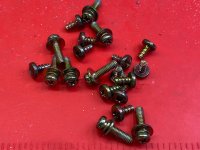
Another scrubbing session was called for on some more panels. I gave the grey bezel a polish with Novus 2 just to even it out a bit but left the two stickers on there. From memory I put them there where someone had really rubbed hard with something abrasive. If I polished them out I fear they would leave the area excessively shiny when the bezel is more of a satin finish. I might have a peek under there later. Before putting the bezel back in I gave the surrounding painted area polish as well – I didn’t want to fill up the seam with polish after the fact. The marquee was in great condition and I just cleaned up the screws for the bezel and marquee in some simple Green because these ones had survived the decades nicely and didn’t need to be replaced. The internal cabinet joiners are also back in place with new screws.

IMG_6083.jpegIMG_6089.jpegIMG_6088.jpegIMG_6091.jpegIMG_6092.jpegIMG_6087.jpegIMG_6090.jpeg
 
Last edited:
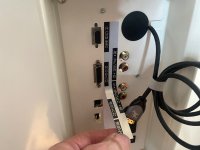
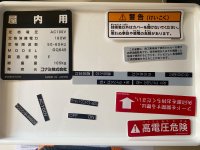
Some more repro decals arrived from Mikonos in Spain. I won’t use them all, but ordered a full set anyway. I applied the ones for the back electrical panel. Normally you’d do this on the bench before fitting it in the cabinet - perhaps using some water and detergent for exact positioning. I made it hard for myself doing it low down to the floor and just doing my best to line them up without multiple adjustments.
IMG_6098.jpeg
IMG_6097.jpegIMG_6096.jpeg
 
Back
Top