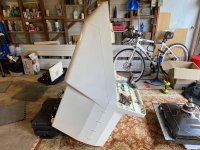
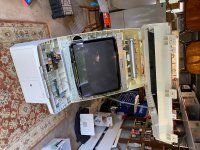
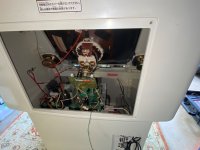
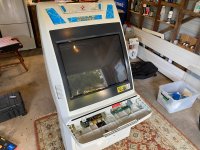
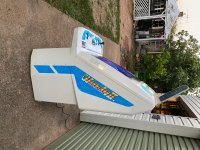
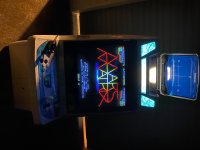
Konami Windy II - good to great - a refurb

Time for some games on a couple of my other machines 🤩 After all, this is why I bother with these extensive refurbs…
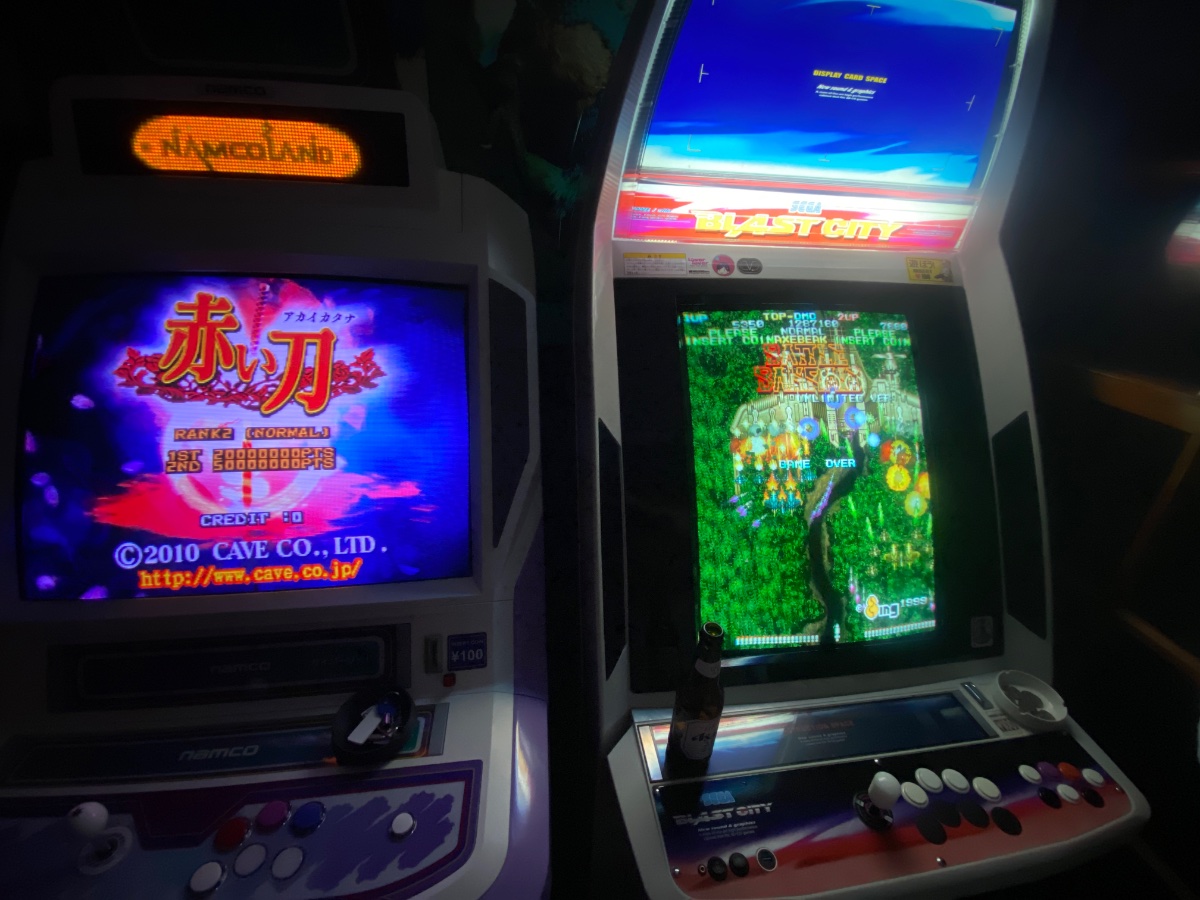
IMG_6108.jpeg
 
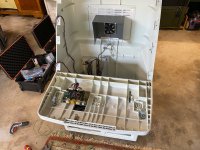
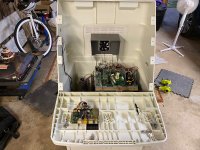
Huge 12-hour day yesterday. This machine is no joke as they say. The final big hurdle was to test everything was working before I put the tube in. I set it all up and then had some uncertainty over whether the chassis should be grounded while I’m fiddling with it. So I screwed a ground lead to the cab and apprehensively tuned everything on. The monitor came on but nothing else. No PS fan, cabinet fan or Mistercade. Various troubleshooting tests ensued 😭

IMG_6109.jpeg
IMG_6110.jpeg
 
I unplugged the power from the JVS/JAMMA adaptor and the cabinet fans came to life. I plugged it back in and unplugged the video cable from the chassis and nothing again. I tried two different (VGA & JAMMA) test cards and had the multimeter out and was not getting readings expected from the power supply. Long story short I ungrounded the chassis and everything came to life as expected. Voltages were all in range. Oh man what a time waster - although it got my head in the wiring diagram and I confirmed/figured out a few things I wasn’t sure about elsewhere in the cab.
 
Next up I got the Mistercade Neo Geo core going with the Monitor Test Suit. I got all the colour settings sorted albeit the garage was still too bright for doing this job. The middle setting on the pots was pretty much spot-on for colour contrast and brightness, but things popped a bit more with a tad more contrast and brightness. I can readjust this in better light later. Then began the process of getting all the geometry right, followed by some convergence tweaking and applying a bunch more permalloy strips, then back to the geometry pots to adjust for changes made by the strips. Some corners were really quite bad and the colours fully deflected from each other. The strips are really worth it, but while you can get the convergence to look better they do bend the image as well. Playing with the convergence rings as you know can just be a case of chasing your tail. The top looks good while the bottom is out a bit etc etc. I ended up just setting the rings according to the painted line on them - which had actually joined a couple of rings so I couldn’t move them independently. I’m sure I could have got it slightly better, but it would have taken ages and it was 35° plus in the garage. I doubled down on securing the strips with some fabric tape.

IMG_6111.jpeg
 
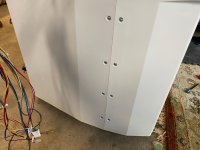
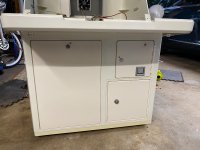
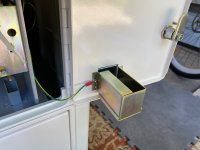
Okay, so on goes the front lower panel and affixing the coin box only to realise I can’t fit several mounting screws in the base with the coin box, chassis shelf and chassis in place. Off it all came again and out with those blocking parts. On with the lower front again which was still tricky to screw in around the PCB wood holder. I got it all back in though with some grimacing and grunting.
IMG_6113.jpegIMG_6114.jpegIMG_6116.jpegIMG_6118.jpeg
 
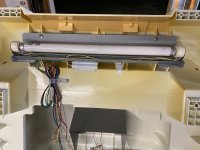
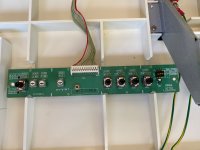
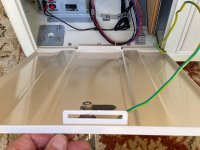
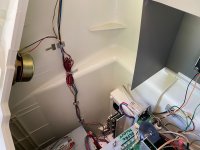
Finally for this session was securing the front panel that the monitor mounts onto, doing some cable routing to the IO board and coin mech, securing the coin chute and affixing the light assembly. That was powder coated and cleaned up also. I was getting complacent and not reviewing my disassembly notes and neglected to fit the speakers - so will have to do some contortions to mount them later. I may even put in some new Dayton speakers I have, but need to sort a solution to shield them.

*Edit: I never used the Dayton speakers and will save them for another project. But I did learn you can shield them with metal pipe caps or a tuna can - which you’d need to snip to the right depth.

IMG_6119.jpegIMG_6121.jpegIMG_6122.jpegIMG_6120.jpeg
 
Last edited:
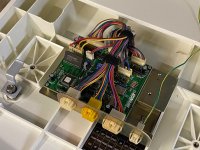
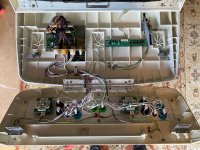
Okay last day of the resto. Still a heatwave here in NSW, but must…press…on. Pic heavy but I’m leaving some of this detail as a record for others if needed. The MS2930 remote board needed a few spots to be filed out to fit in the place of the original.

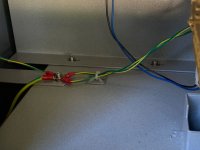
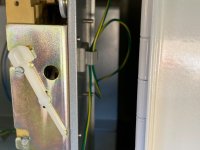
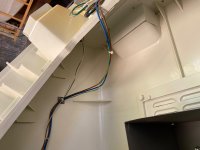
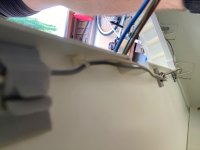
This machine has lots of earth cabling and using the wiring diagram and my “before” pics I eventually worked out where they went. I added a bunch more adhesive cable clamps to keep the cables tidy, including the speaker wires.

IMG_6125.jpegIMG_6126.jpegIMG_6127.jpegIMG_6128.jpegIMG_6129.jpegIMG_6130.jpegIMG_6131.jpegIMG_6132.jpeg
 
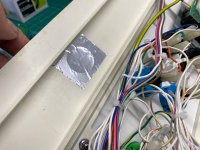
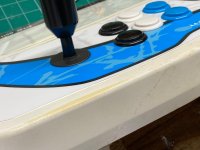
Another scrubbing session for the control panel. It’s the most fatigued part of the cabinet but I’m happy just to let it show its history of use after a good clean and polish. Some new hardware and cleaned up metal glass retainers helps. The foil tape is to prevent light from shining through the instruction space where there is a hole underneath.

IMG_6137.jpegIMG_6139.jpegIMG_6140.jpegIMG_6142.jpegIMG_6143.jpeg
 
Last edited:
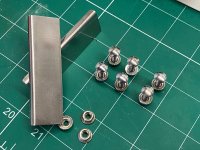
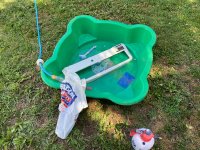
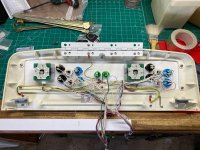
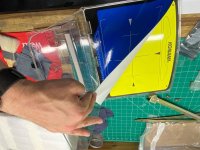
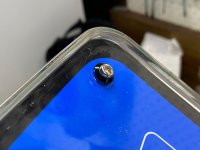
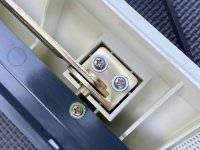
I’ve cleaned up the marquee and you can see the original Windy yellow underneath a new blue one I acquired from a member here. The original screws were a bit rusty so I added new JIS ones with with black ali washers. The props came up nicely with the electroplating and new hardware.
IMG_6144.jpegIMG_6145.jpegIMG_6146.jpeg
 
Using the “tilt” method and with the help of my wife I got the monitor in fairly easily. The degauss wiring kind of sits a bit oddly when the monitor is in position, but the front panel does close okay. Everything worked out beautifully as far as the chassis positioning was concerned.

IMG_6147.jpegIMG_6148.jpegIMG_6149.jpegIMG_6150.jpegIMG_6151.jpeg
 
Last edited:
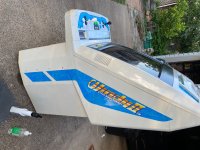
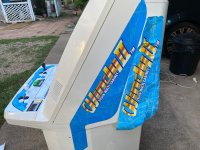
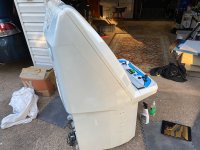
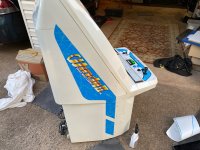
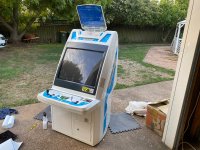
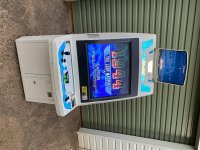
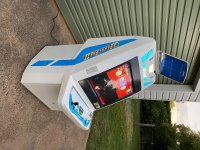
To get to this point there were lots of little bits and pieces to tweak and tidy up but here we are ready to apply the decals. I used the wet method - spraying a little bit of water and detergent on the surface to give me a bit of wiggle room to remove the decal if needed. The decals were pretty good but not perfect and you can see they are a little bit darker than the original. I don’t know why some of these pics are sideways.
IMG_6153.jpegIMG_6154.jpegIMG_6155.jpegIMG_6157.jpegIMG_6156.jpeg
 
Last edited:
Thanks for putting so much pressure on me and documenting the whole thing. I hate you <3

PS: You didn't powdercoat the 2 screen "handle parts" ?
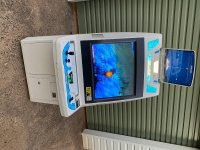
Probably to keep the Konami stamp … well fuck it, i’m going to do it
 
Last edited:
Thanks for putting so much pressure on me and documenting the whole thing. I hate you <3

PS: You didn't powdercoat the 2 screen "handle parts" ?
Don’t feel pressured 🙂 These obviously take up so much time and I’m lucky I have roster where I work long hours but then get long days off. I know I gab on a bit but my process might help someone else one day.

The handle parts were nice and clean so no need to powder coat. They have this kind of tape on them as well which I wouldn’t want to remove if I didn’t have to.
 
Back
Top