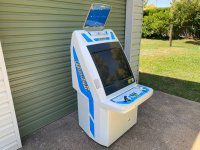
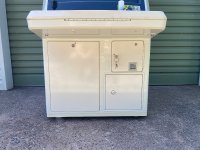
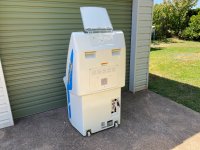
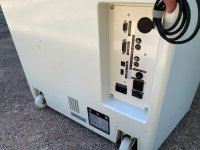
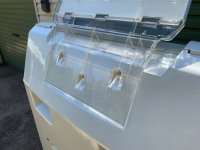
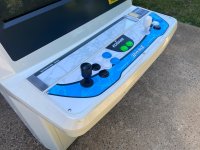
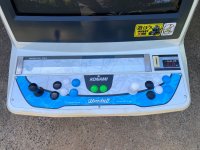
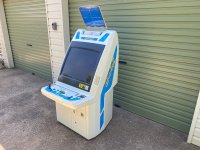
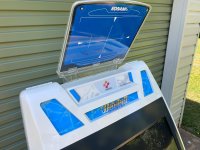
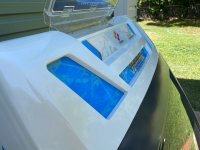
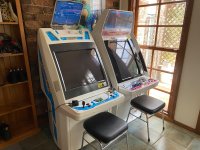
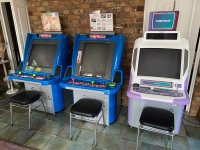
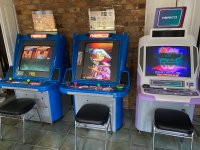
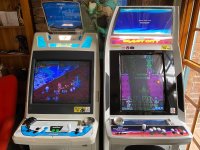
Konami Windy II - good to great - a refurb

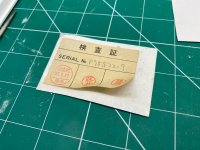
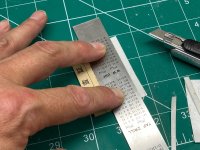
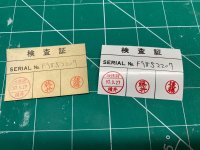
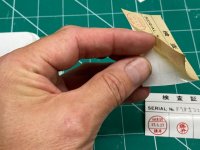
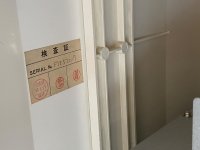
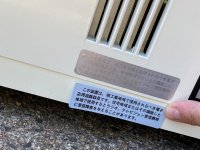
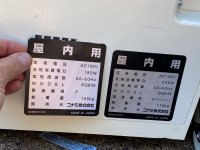
I’m liking that most of my decals are still okay and will keep them as is. I’m comfortable with the wear and tear and have some repros as backup if ever required. Here’s the original vs repro serial number label. I just added some double sided adhesive to rejuve it.

IMG_6185.jpegIMG_6190.jpegIMG_6191.jpegIMG_6192.jpegIMG_6194.jpeg
 
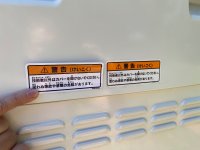
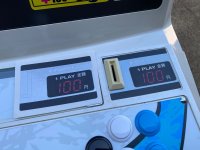
Here’s the rest of what I have available to change but chose not to or it wasn’t required. The serial number one was all wrong anyway.

IMG_6195.jpegIMG_6196.jpegIMG_6197.jpegIMG_6199.jpeg
 
Last edited:
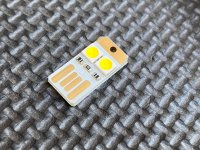
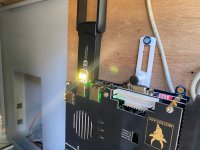
I threw in a USB LED light and the USB wifi dongle for Mistercade. I don’t know if it will work in the plastic shell.

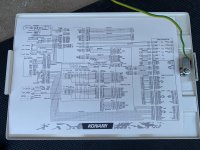
Inspired by the Aero City’s monitor instructions in the access door, I’ve gone and stuck in the cabinet’s wiring diagram.

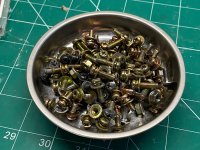
And here’s all the hardware I changed out. I’ll be able to clean these up somewhat and keep them for other projects.

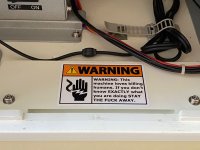
Lastly, for a laugh I put in this warning decal from @djsheep and the Candy Cab Club store.

IMG_6203.jpegIMG_6204.jpegIMG_6205.jpegIMG_6207.jpegIMG_6200.jpeg
 
EPILOGUE

This was another challenging yet interesting process. I honestly thought it was going to be fairly straightforward, but it was a lot of work. There are just so many components to this cabinet.

Similar to the Cyber Lead in many ways with all the vs connections in the back and general JAMMA/JVS spaghetti to deal with. I’m not complaining though. I’m in this hobby because I mostly enjoy the process and love the end result. I feel setup for a life of joy playing these things now.

You just have to commit and keep going once you start these restorations. I can see how people with more commitments than myself end up with these cabs in the workshop for years untouched.

Once of the main takeaways from this project was that I chose to replace the various screws in the machine with stainless steel ones. They are lovely and their longevity is unmatched, but the rate I was dropping them because they weren’t magnetically connected to the screwdriver made me think twice about going down that path if I had my time again.

A lot of stuff had to come together for me to compete the cab. A lot of vendors and individuals on here are just such fantastic and generous humans - and I thank you for helping me out.

@djsheep at Candy Cab Club
@xb74 at CQB Arcade
@Molehill for spare parts
@DRAGONKZ for the essential tube and chassis
@NFGx for the PCB holder and misc resources
@FrancoB for the Windy credit button kit
@misteraddons for the Mistercade ecosystem
@joeks at Arcadeartrepro for the CP
eBay for various bits
The Emporium (JP) for the $marquee
Mikonos at Zona Arcade for the repro decals
Japan Moto Nuts for JIS hardware
saima.co.jp for JIS hardware
Slinco Powder Coating
Gamestone’s Windy II restoration website.
Everyone who posted their Windy resto here.
 
The handle parts were nice and clean so no need to powder coat. They have this kind of tape on them as well which I wouldn’t want to remove if I didn’t have to.

I’m the one putting pressure on myself ;)

… and « the tape »: i removed it yesterday: the best method is to use a heat gun and slowly remove it, then use WD40 to remove the adhesive left, which should be minimal.
 
I’m the one putting pressure on myself ;)

… and « the tape »: i removed it yesterday: the best method is to use a heat gun and slowly remove it, then use WD40 to remove the adhesive left, which should be minimal.
No probs. You’ll be able to replace it with that black fabric stuff - if you want. I”ll be interested to see if there’s still some of the Konami logo that comes through when the powder coating is done.
 
Say did you make these?
The coin one I think was from Arcadeartrepro or arcadeartshop. The other three were from Mikonos who is at Zonaarcade. I was expecting the black one to be a copy of mine which I sent him a photo - so with the right serial number etc. I’ll have to chase him up on that. He has the whole cabinets decals now. If you need an email let me know.
 
The coin one I think was from Arcadeartrepro or arcadeartshop. The other three were from Mikonos who is at Zonaarcade. I was expecting the black one to be a copy of mine which I sent him a photo - so with the right serial number etc. I’ll have to chase him up on that. He has the whole cabinets decals now. If you need an email let me know.
ok. well I ordered the side art and mini marquee from arcadeartrepro, of course I didn't get the coin one ... I've seen Mikonos elsewhere but buying from him appears to me to be way too complicated so I never bothered.
thanks.
 
What a great job you’ve done with this Windy 2 cabinet, and what a great selection of other machines you have too.

I love the 50¥ washers, great idea! I too had to raise my chassis, and I must have measured and test fitted everything 100 times because I didn’t want the monitor neck to touch the top of the MS2930.

I also used Mikonos for my sticker reproductions. I’m glad the power supply scans have already been put to good use! I kept as many original stickers as I could, and only replaced the ones that were too badly damaged.

You’ve got me doubting myself now about the cooling of the chassis underside. Mine too is on a custom piece of plywood. I run my cabinet for hours a day sometimes and I’ve seen or sensed no problems yet. If you think of a solution in future, I’d be grateful if you could share it here.

Enjoy the gaming and congratulations on a great rescue/restoration!!
 
ok. well I ordered the side art and mini marquee from arcadeartrepro, of course I didn't get the coin one ... I've seen Mikonos elsewhere but buying from him appears to me to be way too complicated so I never bothered.
thanks.
The Mikonos coin label is much more accurate than the Arcadeartrepro one.
 
ok. well I ordered the side art and mini marquee from arcadeartrepro, of course I didn't get the coin one ... I've seen Mikonos elsewhere but buying from him appears to me to be way too complicated so I never bothered.
thanks.
Fair enough. Arcadeartrepro is awesome. I guess just use who you need when you need ‘em.
 
What a great job you’ve done with this Windy 2 cabinet, and what a great selection of other machines you have too.

I love the 50¥ washers, great idea! I too had to raise my chassis, and I must have measured and test fitted everything 100 times because I didn’t want the monitor neck to touch the top of the MS2930.

I also used Mikonos for my sticker reproductions. I’m glad the power supply scans have already been put to good use! I kept as many original stickers as I could, and only replaced the ones that were too badly damaged.

You’ve got me doubting myself now about the cooling of the chassis underside. Mine too is on a custom piece of plywood. I run my cabinet for hours a day sometimes and I’ve seen or sensed no problems yet. If you think of a solution in future, I’d be grateful if you could share it here.

Enjoy the gaming and congratulations on a great rescue/restoration!!
Thanks kindly. I never did drill any air holes in the bottom (forgot) but I think it will be fine - especially considering these cabs have the heat extractor fan right there and all the hot components sit on the top obviously. And while I could take the wood shelf out easily enough - getting it back in and lining up the standoffs would be really tricky.
 
Last edited:
Back
Top