@udongein - That's correct, I decided to remove the pot. The horizontal position adjustment worked only to some extent and I considered it a side effect really.
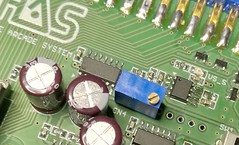
If you really need it, the EL1883 has the same footprint as the ISL59885 used in the V3.1 and is almost a drop-in replacement, so it can be swapped. Aside from IC replacement, the mod would just require two extra components - a 100nF ceramic capacitor (0603 package) and a 1M multi-turn potentiometer. The potentiometer could be glued to the HAS PCB, or even soldered to the CN4 port holes (you'd just need to make sure to cut a few traces that go to the CN4 port, and route a wire to the EL1883).
A less invasive approach would require a custom PCB for the EL1883 + pot, which could then be plugged to the CN6 connector, or a combination of CN4 and CN6.
The most versatile solution however, is adding an Extron RGB 203 Rxi unit to your setup. It's inexpensive and allows to tinker with both the vertical and horizontal screen position.

")