Blast City / Astro City / Astro City 2 / NNC - Restorations

Oof what in the hell. Nearly all the other locks were drilled out but am I seeing things or did someone cut out the side of the coin box with a saw? Good lord why?

That’s what it looks like to me with that big curled piece of sharp metal. I knew I was rolling the dice but didn’t even notice that being distracted by all the other oddities / things I might not understand.
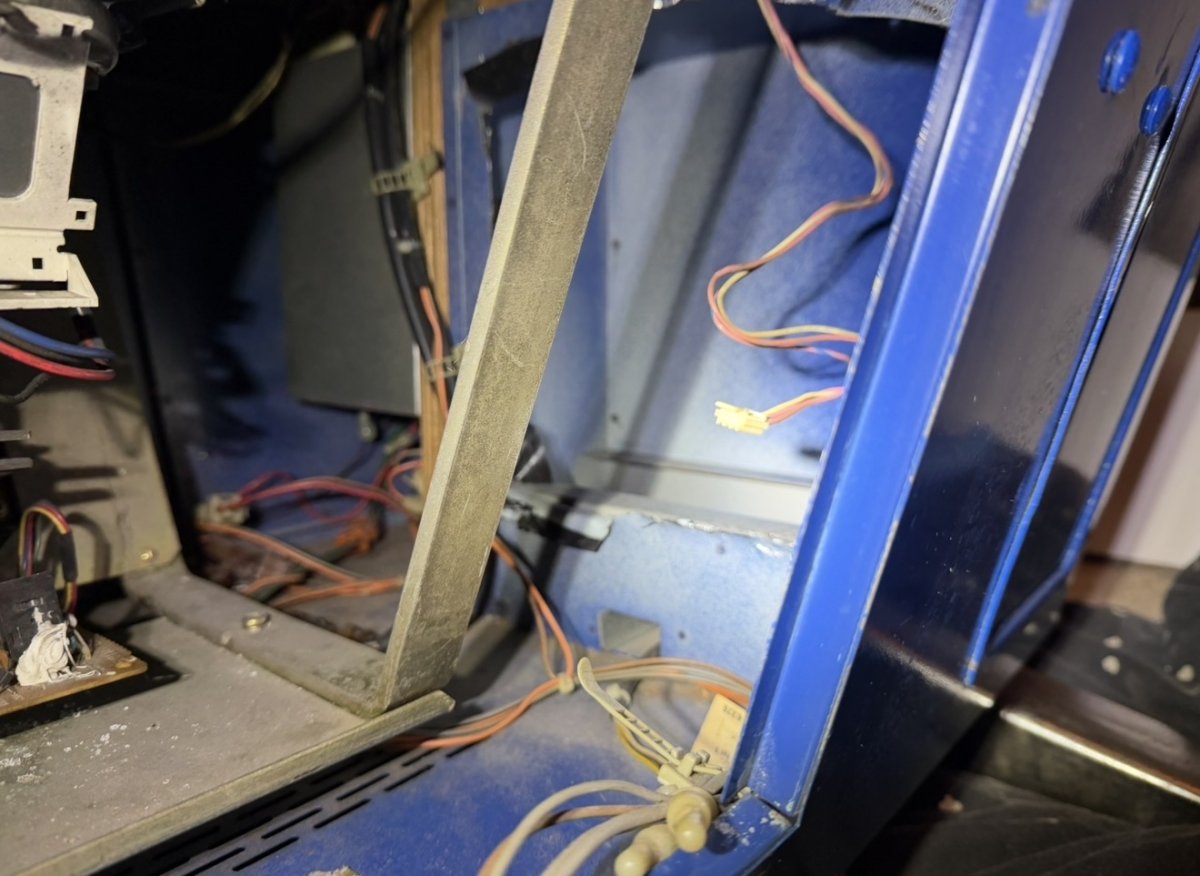
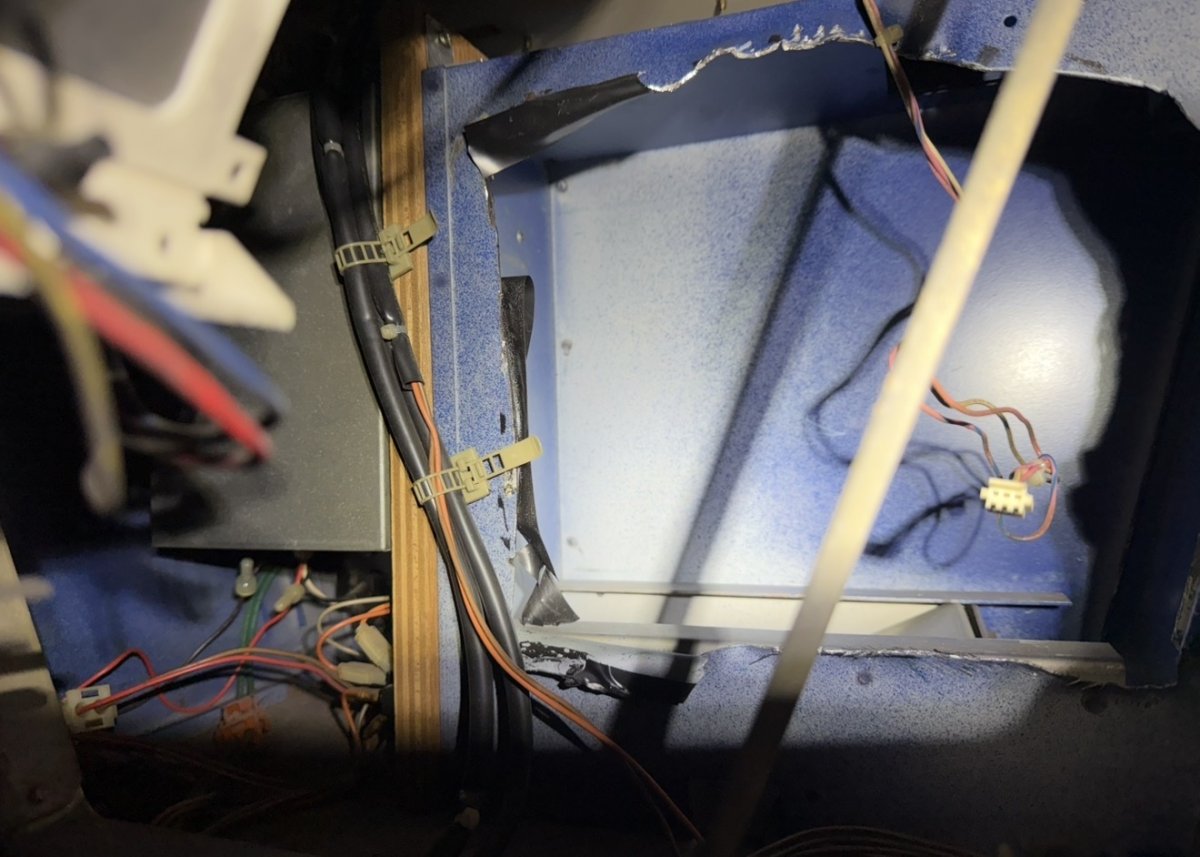
IMG_4807.jpeg


IMG_4808.jpeg
 
IMG_4816.jpeg


The 2 cables on the left power and the yellow one are directly soldered to the chassis.

Assuming this is another mod as I’ve never seen a 2 prong power cable coming off a chassis. (I hope I am wrong)

Tempted to buy another chassis and tube that doesn’t have these modifications cuz I have no clue how to undo them and replace them with the proper connectors.

IMG_4815.jpeg


@SailorLodestar
 
Last edited:
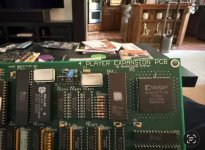
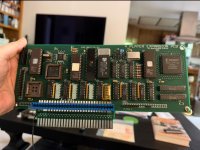
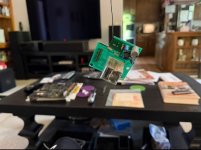
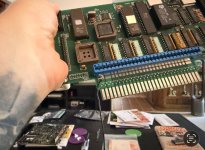
Gross. Not understanding the point of 4 player pcb on a 1-2 player cab. My disdain grows lol.
 

Attachments

  • IMG_4837.jpeg
    IMG_4837.jpeg
    311.9 KB · Views: 18
  • IMG_4838.jpeg
    IMG_4838.jpeg
    291.2 KB · Views: 18
  • IMG_4839.jpeg
    IMG_4839.jpeg
    190.6 KB · Views: 16
  • IMG_4840.jpeg
    IMG_4840.jpeg
    338.5 KB · Views: 21
Yep that’s the only thing kinda still bothering me.

Don’t get me wrong this is a huge improvement from being totally dead in the water, but yes it seems on the sides of the image it is very blurry.

If I move Ryu to the far left of the screen which is most common when playing a single player fighting game, I notice it the most.

Dead center looks fairly crisp though.

If I move my game over to my Astro City cab with MS-9, I immediately notice an overall improvement.

—

Edit : I forgot the fluctuations in brightness are not fun either. But sounds like that’s not a common issue. Wish someone local in SoCal could recap all my PSUs in one shot just to eliminate that as a possibility.
http://shabazz.fr/wp-content/uploads/2021/10/Sega_New_Astro_City__Manual.pdf

There should be a focus pot on your monitor. Refer to pages 17 and 20.
More stuff that doesn’t look standard. Not sure what these red buttons the left of the cab are for. Assuming these are coin counters in the middle. The board on the end looks like it has Japanese writing on it not sure if this is part of the original cab or not, my guess is headphone\speaker amplifier?

Fucking guy screwed this additional wooden tray through the cab and the sharp parts of the screws are protruding out of the side sign of the cab. Totally unbelievable.

Just wanna pull all this bullshit out lol. I could
be wrong about some of this but I’m basing this on pics of other cabs.

Maybe the metal thing on the top was standard but I’m still super confused. If that was the case where could you put speakers.

@SailorLodestar is any of this standard?
I'm pretty sure those red buttons are your test, degause, etcetera.
 
http://shabazz.fr/wp-content/uploads/2021/10/Sega_New_Astro_City__Manual.pdf

There should be a focus pot on your monitor. Refer to pages 17 and 20.

I'm pretty sure those red buttons are your test, degause, etcetera.

I adjusted focus previously but seems like the sides are still blurry

—

I wonder why they would install additional red service type buttons when the stock ones are still there on the right?

IMG_4847.jpeg


I also have these button on the left front underside of the cabinet. The knob doesn’t appear to turn seems stuck.

IMG_4848.jpeg
 
Last edited:
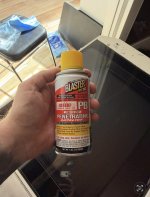
Pain in the butt to remove the locks. One was drilled but the lock still in place. Other 5575 lock was intact but no key. Used locking pliars and PB Blaster definitely helped.

Ordered 5380 locks because I have a couple keys and I think that’s what came with the factory unit. Could be 5575 not sure.

Got a stripped screw on both of my rear panels. There was a weird mix of security screws / nuts / and more standard screws.

Gonna try screw pliars I ordered but probably not gonna be easy. I have rubber bands I was trying with a screw driver but I think the bands are too thick.

Challenge of my damn lifetime here lol.

IMG_4889.jpeg
 

Attachments

  • IMG_4888.jpeg
    IMG_4888.jpeg
    149.7 KB · Views: 9
Last edited:
IMG_4907.jpeg


Man this is all madden difficulty. This wood board was held down by 2 nail screws with no heads to turn. Got one out with pliars rotating it from underneath. Time to work on this second one. Sob lol.
 
Anyone know what model power supply should be used in a an Aero Table? I see some Aero City PSUs available but not sure which one I need. Still need to get monitor out to try to get a better view of the PSU.

Edit: Finally got rear door off had one stubborn screw but used screw plyers and was able to get it off. Def looks like the silver Aero City style PSUs but haven't taken a very close look yet.
 
Last edited:
The 2 cables on the left power and the yellow one are directly soldered to the chassis.

Assuming this is another mod as I’ve never seen a 2 prong power cable coming off a chassis. (I hope I am wrong)

That is stock on that chassis (MS8-26SG).
 
That is stock on that chassis (MS8-26SG).

Oh awesome. Yeah I figured some of my assumptions would be wrong. I see a MS8 on FB marketplace but it would be quite a drive.

I think the wiring will be the most challenging for me because it seems all hacked up and modded for the extras this person put in the cab. But then again maybe some of it can be salvaged. Getting the monitor out will make it easier to figure out what is going on.

Hoping maybe I can get some help with that. Not sure if my PSU has issues. Seller thought that was why no picture on the monitor, I was leaning more toward chassis recap and reconditioning.
 
I want to rotate my Aero back to horizontal and my blast city to vertical. I definitely will do it with a helper, but I was curious about the stories of ppl breaking the neck of the monitor. Would this danger be alleviated a little if you took the monitor out. Set it on the floor, rotate on the floor, rest, then put it back in with the new orientation? Is the danger mostly from rotating it in the air in one movement?
 
1778475664183.jpeg


Is the person in back more for guiding the monitor or more for extra lifting support?
 
I want to rotate my Aero back to horizontal and my blast city to vertical. I definitely will do it with a helper, but I was curious about the stories of ppl breaking the neck of the monitor. Would this danger be alleviated a little if you took the monitor out. Set it on the floor, rotate on the floor, rest, then put it back in with the new orientation? Is the danger mostly from rotating it in the air in one movement?
Unless you are a beast I’d definitely set it down - reposition your grip - replace in your preferred orientation. I think necking tubes only occurs when people don’t clear/remove wiring in the neck area and/or when the monitor doesn’t have a frame/cage protecting the tube area.
 
Is there an equivalent to this thing in an Aero Table?

IMG_5034.jpeg


Looking at this “full” harness and can’t figure out where it would plug in inside an Aero Table. (Pic taken from my Aero City)

IMG_5035.jpeg
 
Wish I wasn't such a wiring novice. I feel like I gotta map everything out one by one, ask what kind of connector is this, where does this go? Etc.

It appears the wiring is very similar to an Aero City but not exact from what I can tell.

Edit : Perhaps it is pretty much exact. Still not sure.
 
Last edited:
Back
Top