
XtraSmiley
Legendary
Oh man, any way to provide Japanese parts to convert the ones we already have?
Oh man, any way to provide Japanese parts to convert the ones we already have?

I have a pair unopened I was going to use from the first run, but I sort of want the new run that are smaller, so it depends. If you want some now, I'd be happy to sell my current set and wait for the new ones, PM me. If you want the new ones, you're waiting just like the rest of us!I know I am late to the party but are there any of these sitting around gathering dust?, or any plans for a rerun?

Thank You! Just preordered.

Was this ever released?And for those interested in MisterFPGA support, Im testing a little board I made up

Desing will probably change, but this should get the testing out of the way to confirm things work.


my guess was the kick harness provided a signal to show a spinner io was attached. otherwise, if u boot the game with out it, it wont show the "rolling switch" option.Hey guys
Regarding Eco Fighters / Ultimate Ecology, I have came across this homemade adapter from YAJ
https://buyee.jp/item/jdirectitems/auction/b1200703373
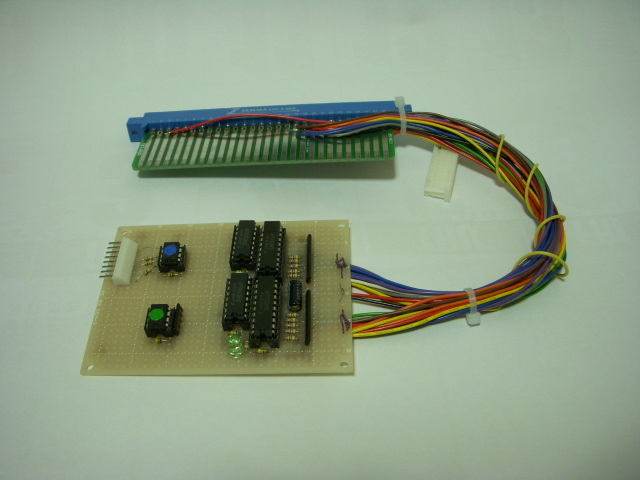
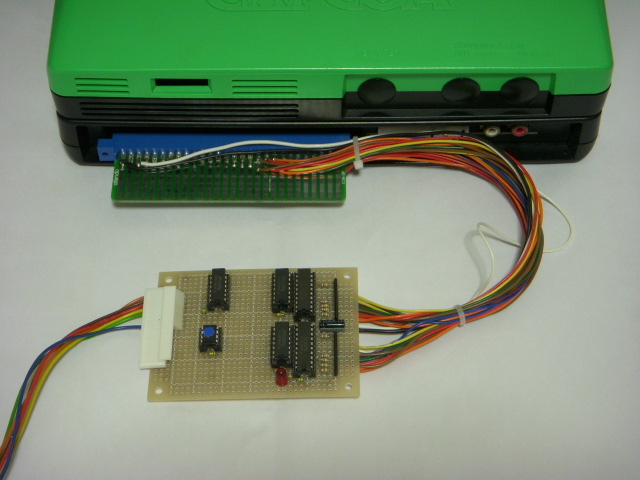
It doesn't look like the original IO board at all, but still plugs to the expansion port of the motherboard.
My guess is it should work pretty much like Brizzo's spinner adapter, but why the expansion port connector though? Any ideas? What do you think?
Description reads:
The photos are reused and may differ slightly.
Supports 1P and 2P.
Connect the 56-pin connector between the board and harness.
Connect the connector to the CPS2 expansion terminal. Connect the 16-pin connector
on the rolling control panel to the 8-pin connector with the left side aligned.
Once you turn it on, you can operate it using the lever and rolling switch (paddle and A button).
Please make sure to secure the conversion board so that it does not short out inside the case.


Where did you find the colors caps for the spinners?Once again, thank you to @hursit for this excellent reproduction. There is no need at all to modify, but I decided to have a bit of tinker and see what could be done to put them in other setup configurations seeing as the Capcom mounting plate is different to a lot of other setups.
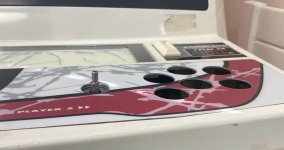
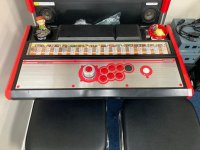
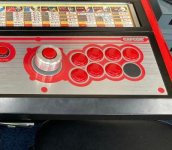
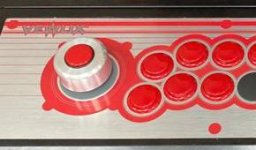
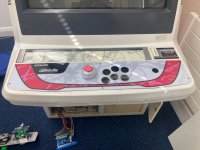
Having measured and remeasured, I decided that an Original Taito Vewlix C 1P Panel was my best starting point, as it only required one hole to be drilled. (I used plenty of sticky tape under and around to try and minimize metal shards & slivers getting into the cogs.)
It's a little on the sketchy side as it means only one stud goes through a hole, but the other three studs are aligned in such a way that they still help secure it in place once all the other nuts are screwed in.
There's a ridge in the middle of the CP housing at the bottom, but there is still enough clearance room to fit nicely.
Next up, an alberto repro 2P panel that had standard Taito layout studs. Started on the 2P side and it fitted nicely.
Looking at the 1P side, if the main spinner switch was mounted facing left / to the outside of the cab, there is a higher ridge of structure on the lower CP housing that meant it didn't fit.
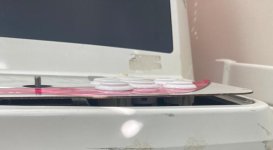
Once reversed, so that the switch faced right (see pic below) there was just enough clearance to fit nicely.
I made sure this was taken into account before proceeding with the next step.
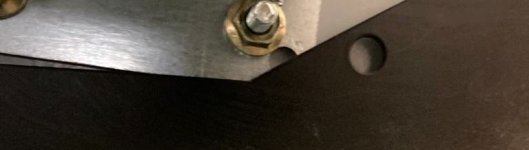
On the 1P side there is an overlap with the CP surround. I couldn't see any way of resolving, so I had to trim a bit of the corner off.
As below, a good part of the moutning hole is still available, so it can still be attached firmly.
Next up, a Raf repro 2P panel had the JLF-P-1 patterned mounting bolts (I also have an alberto with the same studs, plus a shadaloo and one that possibly came from HKLegend).
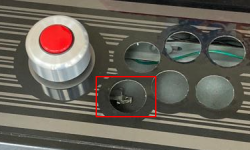
In order for this to work, 4 x holes had to be drilled.
Note to oneself, all mounts are not the same.
Having taken lots of care measuring previously, I got sloppy.
I used a an official/standard plate, but drilled centrally into the oblong holes. All panels conform, but some studs are max width, and some are min width. That meant I had to do a bit of boring and sawing...
...looks good though, and now means I have a bit of mix 'n' match availability, which is pretty much the only thing I originally had in mind as a way of catering for a couple of different setups without having to change panels.
Update
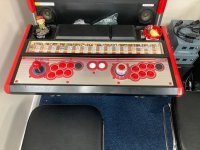
Panel and spinners fit nicely into a Windy 1 & 2 cab
Spinners don't fit if using an original Windy panel, and it has raised mounting brackets.
Repro panels that use flush mounts do fit